How to set up your Mac as an administrator computer

How to configure your Mac as an administrator computer?
If you want to manage server over network on your Mac, you may use server app on an administrator computer to manage your server. If you are using macOS server on multiple servers, they already have the Server app installed, and you may use them as administrator computers. If you want to use the Server app on the administrator computer to check server status, manage accounts and services, and view or change server system settings, the remote server does not require a display. If you want to setup your Mac as an administrator account, let’s learn how to do that.
Follow the below given steps to configure your Mac as an administrator computer:
- First off you need to install the Server app on a Mac that you want set up as an administrator computer.
- To do so, you may copy the Server app from your server to a Mac that you want to be an administrator computer.
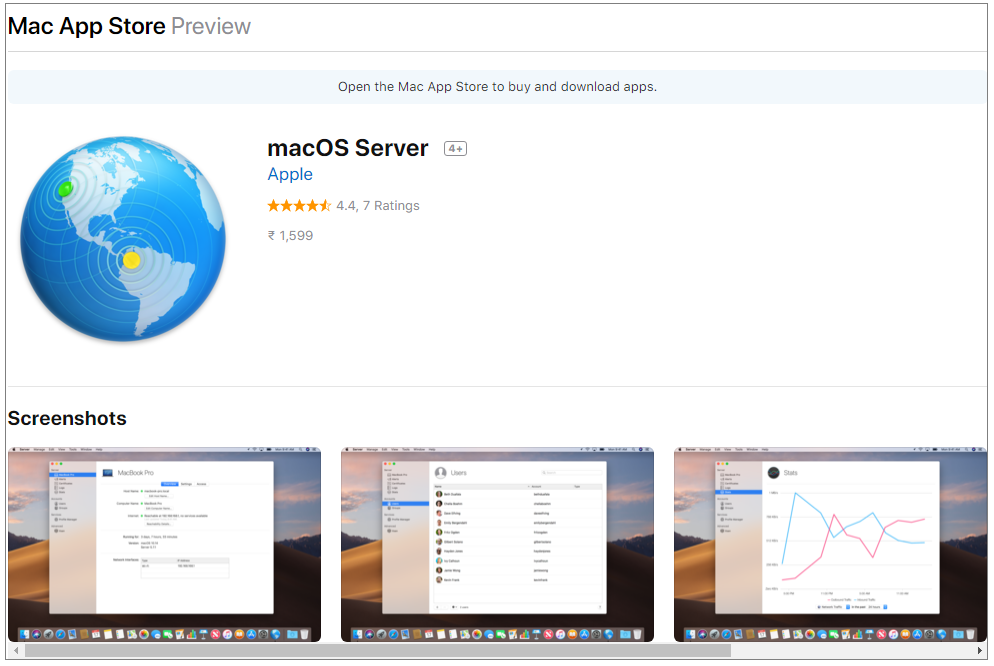
- Alternatively, you may also install it from the App Store.

- After purchasing macOS Server from the App Store on your server, you may install it at free of cost on a Mac that you want to be an administrator computer.
- In order to do that, open App Store on the prospective administrator computer, find macOS Server in the “App Store”, click “Buy” and then provide the Apple ID you used to purchase macOS Server, doing so will download the Server app to the administrator computer.
- Open the Server app you installed and then select Manage > Connect to Server.
- Now, you will see a “Choose a Mac” dialog box. If you see the “Welcome to Server” dialog box instead, select Manage > Connect to Server.

- Select another Mac to manage and then click “Continue.”
Now read: How to configure and use network locations on your Mac


What other's say