How to change your Apple ID country or region on your Mac, PC or iOS device

If you are moving to different country or region, you need to change information for your Apple ID. Make sure that you have a payment method for the new country or region. Additionally, when you change your billing address from your Apple ID account page or through the App Store or iTunes Store, it gets automatically updated for all the Apple services with which you use with the same Apple ID.
Before changing country or region in Apple ID, make sure that you have cancelled all the subscription and you have payment method for the new country. Also don’t forget to backup your device with iTunes. If you are wondering how to change your Apple ID country or region on your Mac or iOS device, here we will give you a short user guide to do that.
How to change Apple ID country or region on your iPhone, iPad, or iPod touch?
You may easily change county or region for Apple ID using your iOS device by following the below given steps:
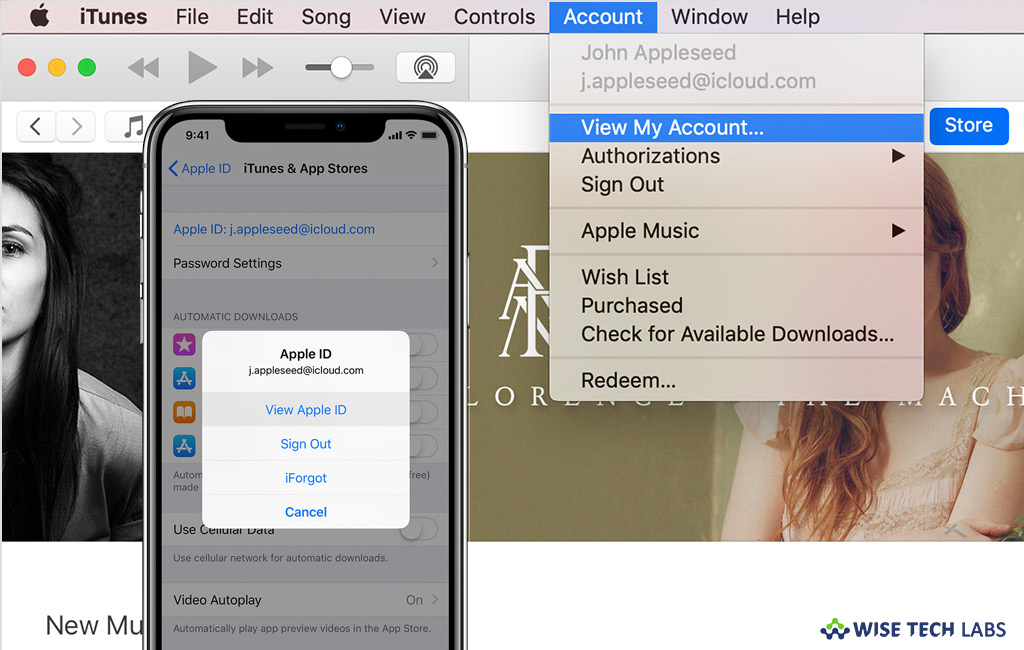
- On your iOS device, go to Settings > [your name] > iTunes & App Store.
- Select your Apple ID and then tap “View Apple ID.” Here, you may be asked to sign in.

- Tap “Country/Region” and then select “Change Country or Region.”
- Now, tap on your new country or region and then review the “Terms & Conditions.”
- Tap “Agree” in the top right corner of the screen and then tap “Agree again” to confirm.
- Now, select a payment method, enter your new payment information and billing address and then tap “Next.”
How to change Apple ID country or region using iTunes on your Mac or PC?
Follow the below given steps to change Apple ID country and region from iTunes on Mac or PC:
- Launch iTunes on your Mac or PC.
- Select Account > View My Account from the menu bar at the top of your computer screen or at the top of the iTunes window.
- Now, sign in with your Apple ID and then click “View Account.”

- On the Account Information page, click “Change Country or Region” to the right of Country/Region.
- From the “Select a country or region” menu, select your new country or region.
- Now, go through the “Terms & Conditions” and then click “Agree.”
- Click “Agree” again to confirm.
- Now, enter your new payment information and billing address and then click “Continue.”
How to change Apple ID country or region from your Apple ID account page?
You may also change the country or region from Apple ID account page, follow these steps:
- In order to change the country or region, sign in to your Apple ID account page.
- Scroll to the Account section and then click “Edit.”
- Now, select your new country or region from the Country/Region menu.
- When you are asked to change your country or region, click “Continue to update.”
- Now, enter your new payment information and your billing address and then click “Save.”
Make sure you entered a valid payment method for your new country or region. Once Apple ID country or region changed, it will be updated for all the Apple services that you access with the same Apple ID.
Now read: How to reset your Apple ID password with two factor authentication on your Mac or iOS device


What other's say