How to apply levels adjustments to a photo in Photos on Mac
Apple computers come with the built-in photo editor that is integrated with the Photos app or library. With this editor, you may adjust the levels in a photo to control the tonal range and contrast of the photo. Moreover, you may adjust settings for the black point, shadows, mid-tones, highlights and white point. Besides that, you may modify the look of specific colors like red, green and blue. If you are wondering how to make level adjustments to a photo on your Mac, here is a short user guide that will help you to do that.
You may easily make level adjustments to your photo, follow these steps:
- Open Photos app on your Mac, double-click a photo and then click the “Edit” button in the toolbar.
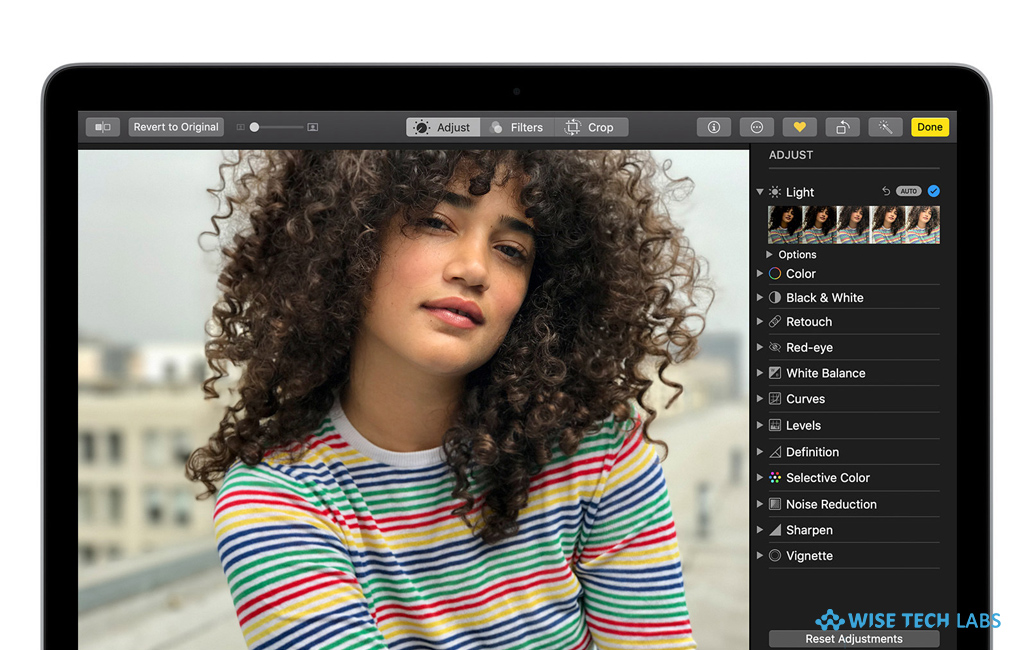
- In the toolbar, click “Adjust” and then click the disclosure triangle next to Levels in the Adjust pane.
- Now, do any of the following:

- To automatically correct the levels of a photo: Click the pop-up menu below Levels, select Luminance, RGB or the color you want to change and then select “Auto.”
- To manually adjust levels: Drag the handles of the histogram to make the adjustments as per your wish. Option-drag a handle to move both the top and bottom handles together.
- If you want to adjust Black point, adjust the point at which black areas become completely black.
- If you want to adjust white point, adjust the point at which white areas are completely white.
- For adding shadows, adjusts the lightness or darkness of shadows to reveal the details you want.
- For highlights, adjust the highlights to the brightness you want.
- To set Mid-tones, set the lightness or darkness of mid-tone areas of the photo.
- To change the color cast of a specific color in a photo, you need to click the pop-up menu below Levels and then select the color you want to change. Now, drag the handles to adjust the brightness or darkness of that color in the photo.
- To change the histogram to display Luminance values, you need to click the pop-up menu under the Levels icon and then select “Luminance. “
This is how you may make level adjustments to a photo using Photos app on your Mac.
Now read: How to edit videos using Photos app on your iOS device or Mac
If you’re a Mac Lover and want to keep your Mac hard drive FREE from unwanted files to free up more space and keep running your Mac Smoothly, Wise Mac Care is a perfect Mac Cleaner that helps in eliminating all kinds of junk files from your Mac for FREE. Wise Mac Care has a very simple user interface and layout that offers variety of FREE features which include Startup items management, Memory optimization, easy removal of system junk and logs files, and much more. Wise Mac Care has premium features like Duplicate Files Finder, Files Shredder, Smart Uninstaller, Large Files Finder and a Privacy Protector. Download Wise Mac Care for FREE and boost your system performance with just a few clicks.


What other's say