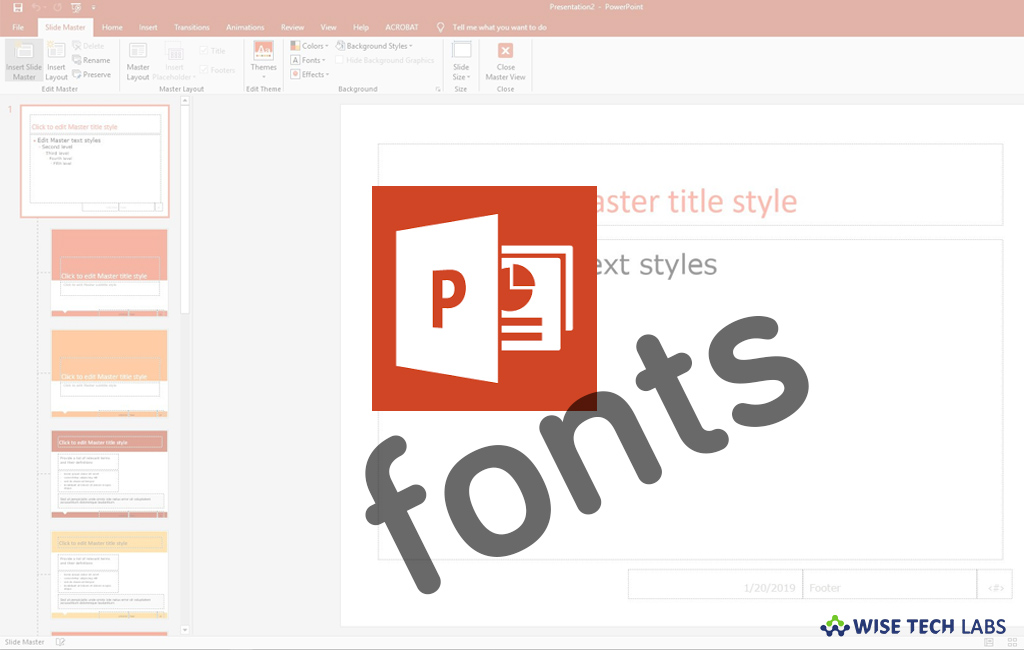
How to change the default font in PowerPoint for Office 365

How to change the default font in PowerPoint presentation?
Changing fonts in every slide may affect your productivity, so it is better to change the default fonts for your entire presentation. The font pairing is really important to create an impressive PowerPoint presentation. Whether it is the header font, body font, or bulleted list, you have the option to change fonts for any or all of these options. After changing the default font, you need not to add text to a slide every time. If you are wondering how to do that, here we will provide you a short user guide that will help you do so.
You may easily change the default fond using the Slide master, follow these steps:
- Open the PowerPoint and Click View> Slide Master.
- Switch to the “Slide Master”tab; click the “Fonts” drop-down menu.
- Now, select the font you want to apply in all the slides in the presentation. If you don’t have the pre-defined font pairs on the menu; select “Customize Fonts”at the bottom of the menu to select your own fonts.

- Finally, click “Close Master View” doing so will automatically change the font throughout your presentation.
In case you want to save this changed default font to use in your future presentations, you may create a template by following the below given steps:
- In your PowerPoint presentation, click File> Save As.
- Now, click Computer> Browse and then follow the below given path:
C:\Users\<your username>\Documents\Custom Office Templates
- Enter the name of your template in the “File Name”box, click the “Save as type” drop-down menu, and then click on the “PowerPoint Template” option.

- Finally, click “Save.”
This is how you may change default font for the entire presentation and save it as a template for future use.
Now read: How to use a watermark to slides in PowerPoint


What other's say