How to delay or schedule delivery of emails in Outlook 365 on your Mac

Microsoft Outlook is one of the most widely used emailing platforms. Outlook is not only being used by Windows users but also equally used by Mac users. For Mac users, Outlook has many various features including Delay/Schedule emails feature. This new feature is available in Outlook for Office 365 for Mac, Outlook 2019 for Mac and Outlook 2016 for Mac and later. If you have configured Outlook 365 on your Mac and want to delay or schedule email messages, here we will provide you a short guide that will help you to do that.
Note: Currently this feature is available only in Outlook 365, Outlook2016 and Outlook2019.
How to Schedule a message to be sent later?
By following the below given steps you may easily schedule email message in Outlook for Mac.
- Open your Outlook account on your Mac.
- Compose your email message and add one or more recipient names on the “To:” line.
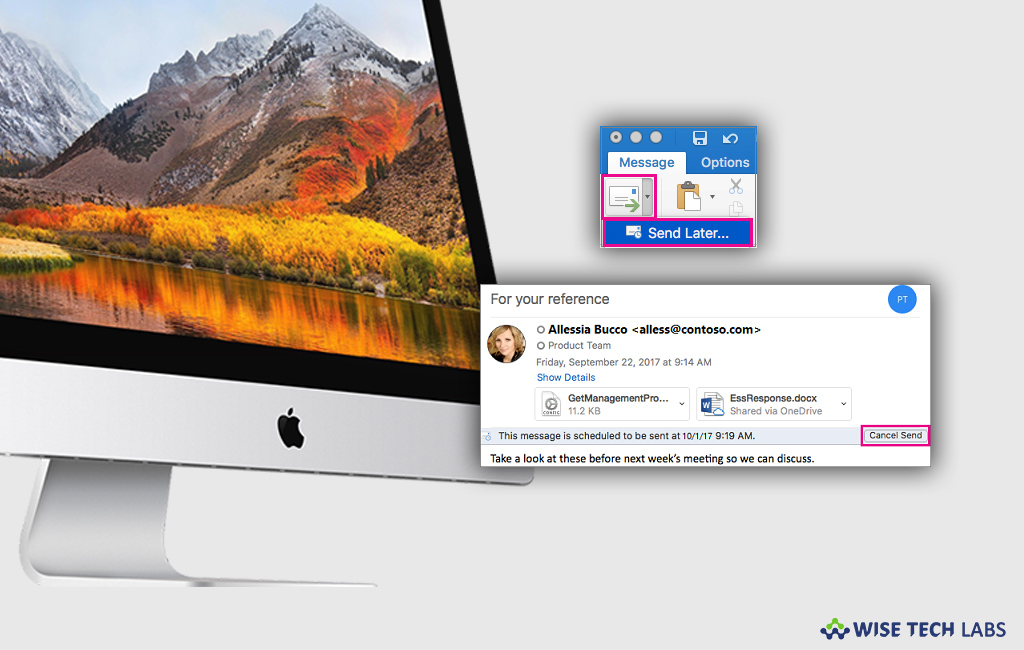
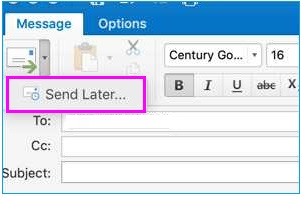
- On the “Send” button, choose the dropdown arrow > Send Later.

- Enter a time and date to schedule.
- Click “Send” doing so will save the message in the “Drafts” folder until the mentioned date and time. It will be automatically sent even if Outlook is not open on your Mac.
How to cancel a message scheduled to be sent later?
If you want to delay the message in Outlook on your Mac, follow the below given steps to do that.
- Open your Outlook account on your Mac.
- In the “Drafts” folder, open the email message and then choose “Cancel Send.”

- To confirm, click “Yes”, doing so will remain the message open so you can send it immediately or delay it until another time.
This is how you may easily delay/schedule sending or email messages in your Outlook account on your Mac.
Now read: How to change Outlook 2016’s reminder alert sound and default time


What other's say