How to use Switch Control and Touch Bar Zoom with Touch Bar on your Mac

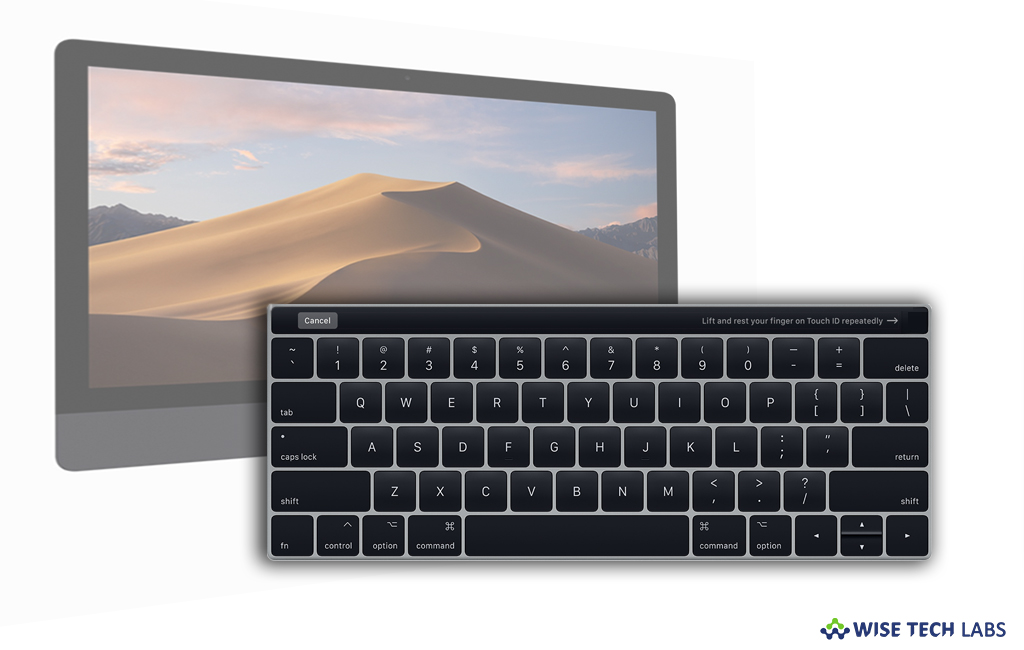
Every Mac has assistive features including Switch control that helps you to the Mac with an ease and comfort. With Switch Control and Touch Bar zoom, you may use assistive devices like a switch or joystick to easily interact with items on the screen, enter text and control your Mac. If you are using the Mac equipped with accessibility features, you may use Switch Control to display Touch Bar on your notebook screen. This is very helpful to the people who have very low vision. If you are wondering how to use Switch Control and Touch Bar Zoom with Touch Bar on your Mac, let’s learn how to do that.
How to use Switch control on your Mac?
You may easily enable Switch control by following the below given steps:
- On your Mac, click on “Apple menu”at the top left corner of the screen.
- In the Apple menu, click “System preferences”.
- Select “Accessibility” and then click “Switch Control.”
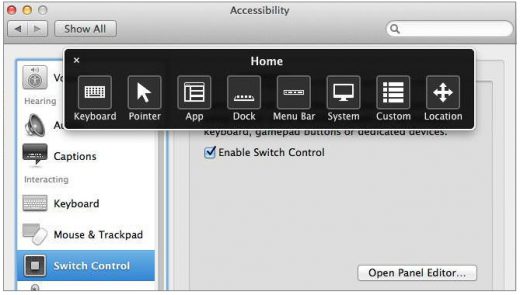
- Switch to “General” tab, select “Enable Switch Control” doing so will show the Switch Control Home Panel on your system desktop.

- Now, select “System” in the Switch Control Home Panel.
- Select “Toggle Touch Bar” to show or hide Touch bar.
How to use Touch Bar Zoom on your Mac?
If you want to use Zoom feature, you may enable Touch Bar Zoom on your Mac.
- On your Mac, go to Apple menu > System Preferences.
- Click “Accessibility”, select Zoom and then select “Enable Touch Bar Zoom.”

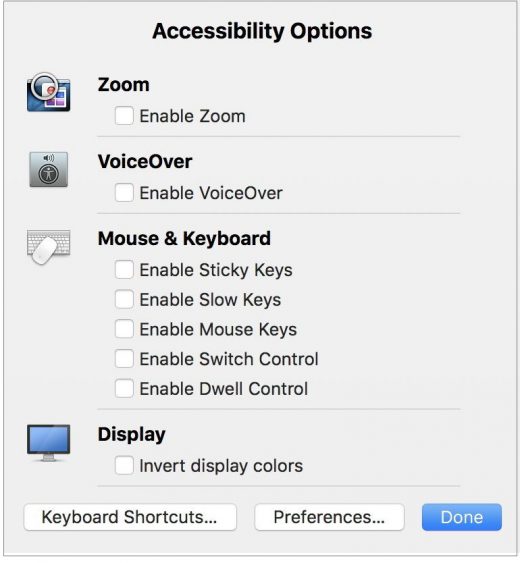
This is how you may easily enable Switch Control and Touch Bar Zoom on your Mac and start interacting with your Mac screen using adaptive devices. Similarly, you may use other accessibility options to enable or disable other accessibility features like VoiceOver, Sticky Keys and more.
Now read: How to edit Chrome controls on your Mac Touch Bar


What other's say