How to use Voice Memos app on your iPhone or iPad

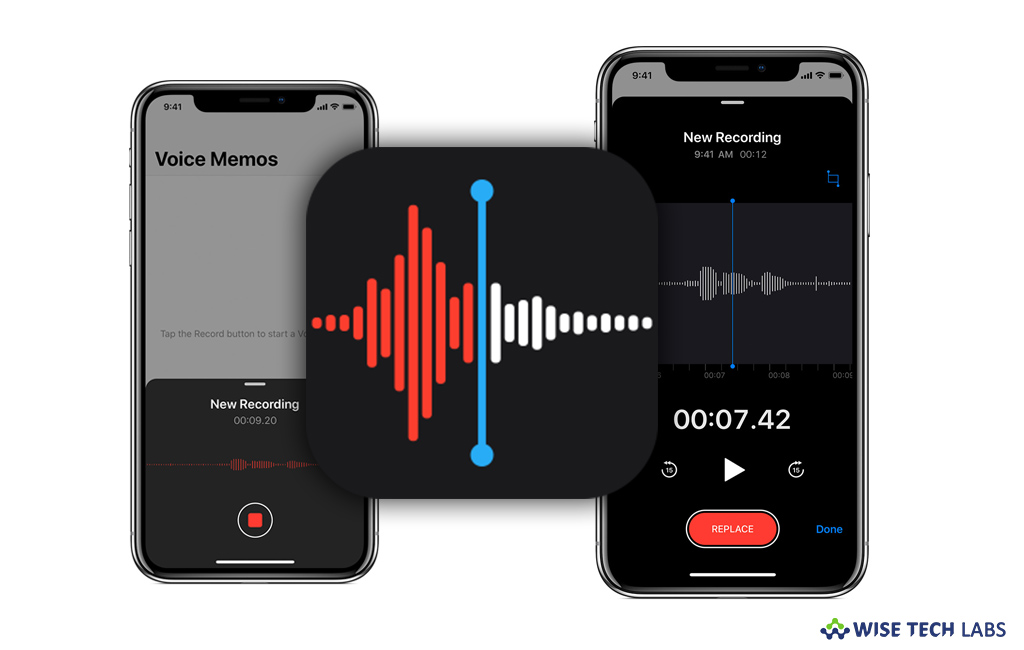
The Voice Memos app was one of the less known applications for Apple users. With iOS 12, Apple updated this application and converted it in to useful audio recorder and audio editor. Apple users can record and edit their voice in a single interface. Moreover, your audio recordings get uploaded on your iCloud account. Being a Apple user, if you are looking for the best audio recording and editing software, Voice Memos is the default application that you need not to install on your device. Voice Memos uses your device’s built in microphone to record your voice. In case you want to record a high quality audio, you may also use an external stereo microphone with your device. Here we will provide you a short guide that will help you to record and edit voice recordings on your iPhone or iPad.
How to record a voice memo on your iPhone or iPad?
By following the below given steps, you may easily record your voice using Voice Memos app on your iPhone or iPad.
- On your iPhone or iPad, launch the Voice Memos app or ask Siri to launch it.
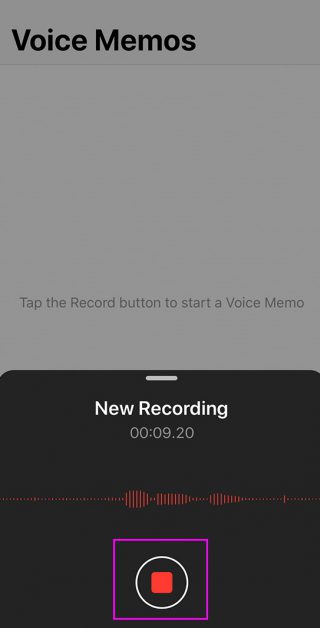
- To record your voice, tap on the big red circle at the bottom of the display, say whatever you want to record and then tap the big square button to get it recorded.

- When you tap on the big square button, your memo is saved automatically with your current location as the title. On your iPad, you need to click “Done” when you are finished recording.
- Moreover, you may also access all your memos from every device that’s signed in to iCloud with the same Apple ID. All you need to do it just enable Voice Memos in the iCloud settings of each device.
How to edit a voice memo on your iPhone or iPad?
Once your recording is completed, you may easily trim, delete or replace its parts by following the below given steps:
- In order to replace the parts of voice memo, tap the memo that you want to edit.
- Tap on the three dots (More Options menu) and then select “Edit Recording.” On your iPad, select the memo and then tap “Edit.”
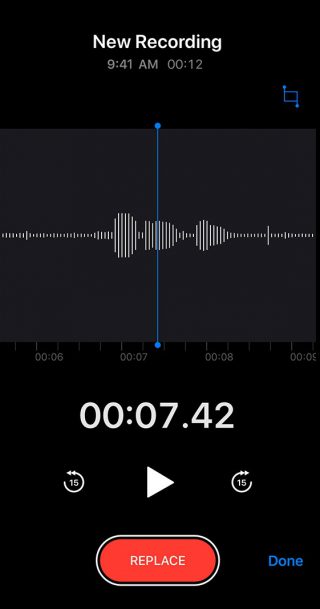
- Now, swipe the waveform left or right until the blue playhead is positioned at the starting of the part that you want to replace.
- Tap “Replace” to rerecord over the existing memo.

- Tap the “pause” button when you finish recording and tap “Done” to save the changes.
- In order to trim or delete the portion in the memo, Select your file you want to trim or delete.
- In bottom left corner of the screen, click on the “More Options menu” (the three dots).
- Select “Edit Recording.”
- Press the blue Trim tool in the top right of the interface. It looks a bit like the Crop tool in most other apps. The waveform interface will open.
- At the bottom of the screen, you can see a waveform showing the full length of the file.
- Moreover, you can also see a yellow bracket over the whole waveform, with arrows pointed outward.
- Now, you can see options to “Trim” or “Delete” by pulling in the edges to the part of audio you want to work with.
- If you want to keep the selected portion, tap on the “Trim” button.
- You may delete the section by tapping on the “Delete” button.
- After following the above given steps, press “Save” in the top right corner of the screen.
Now read: How to use Voice Memos on your Mac


What other's say