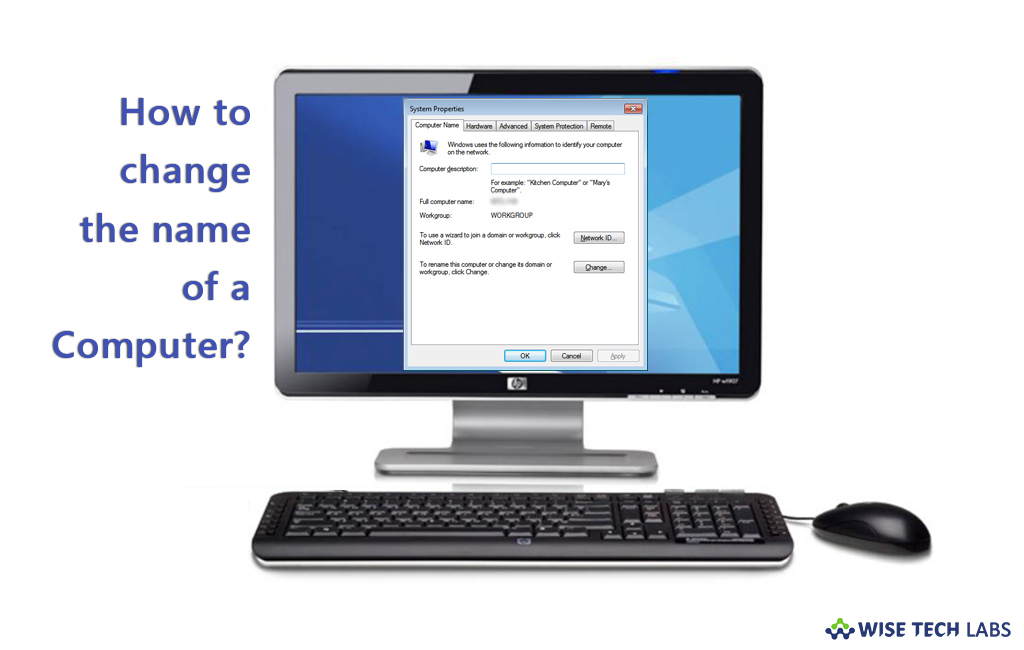
How to change the name of your computer in Windows

How to rename your Windows computer?
There can be many reasons to change the computer especially if you buy the PC directly from a manufacturer and it comes with generic name like “Windows-user-PC” or “TUF00044552344EE.” These coded names are very difficult to recognize on network, changing your computer’s name to something simple and descriptive is surely helpful. Or maybe you just want to name your computer something trendy to keep it personal. Renaming of your computer is very easy. Let’s learn how to change your computer name.
1. Start Menu
Follow the following steps to change the name of your computer from start menu:
- In order to change the name, click on start button and right click on “Computer “ and click on “ Properties”.

- Click on “Change settings” or “Advanced System Settings” to open system properties.

- Click on “Computer Name” tab and click on “Change” to enter new name of the computer and click OK.

- In the “Computer Name” window, type the name you want for your PC into the “Computer name” box. In case you have many Windows PCs on your local network, you may also change the Workgroup name from here. When you’re done, click the “OK” button.
- You need to restart your computer to apply the changes, save any files you have open and then click “OK.”
2. Control Panel
- Go to Control Panel > System and Security >System.

- Then click the “Advanced system settings” link.
- Select the “Computer Name” tab and click on “Change” to enter new name of the computer and click OK.
3. Using sysdm.cpl
- Type “sysdm.cpl” into start menu and hit enter.

- In the “System Properties” window, select “Computer Name” tab and click on “Change” to enter new name of the computer and click OK.


What other's say