How to customize and manage settings for HomePod from your iPhone or Mac

Apple designed an advanced speaker HomePod that adapts every location and delivers high fidelity audio quality wherever it is playing. By using Apple Music and Siri, you may easily interact with HomePod to play music at your home. Moreover, it also helps you in your everyday tasks to manage your smart home with your voice. All you require is Home app on your iPhone or Mac to turn it on and customize settings. With the Home app, you may configure settings for an individual HomePod and manage settings for multiple HomePod speakers. Once it is paired with Home app, you may easily manage it using the same Apple ID that you set up on your HomePod. Here we will provide you a short guide that will help you to configure HomePod settings.
How to customize settings for a HomePod?
You may customize settings for an individual HomePod to change its name, involve Siri and select the content. Follow the below given steps to do that:
- If you are an iPhone user, open the “Home app” on it, press and hold HomePod and then tap “Settings.”
- If you are a Mac user, double-click HomePod and click “Settings.”
- Now, you may can see the serial number of your HomePod and enable accessibility features including VoiceOver and Touch Accommodations.
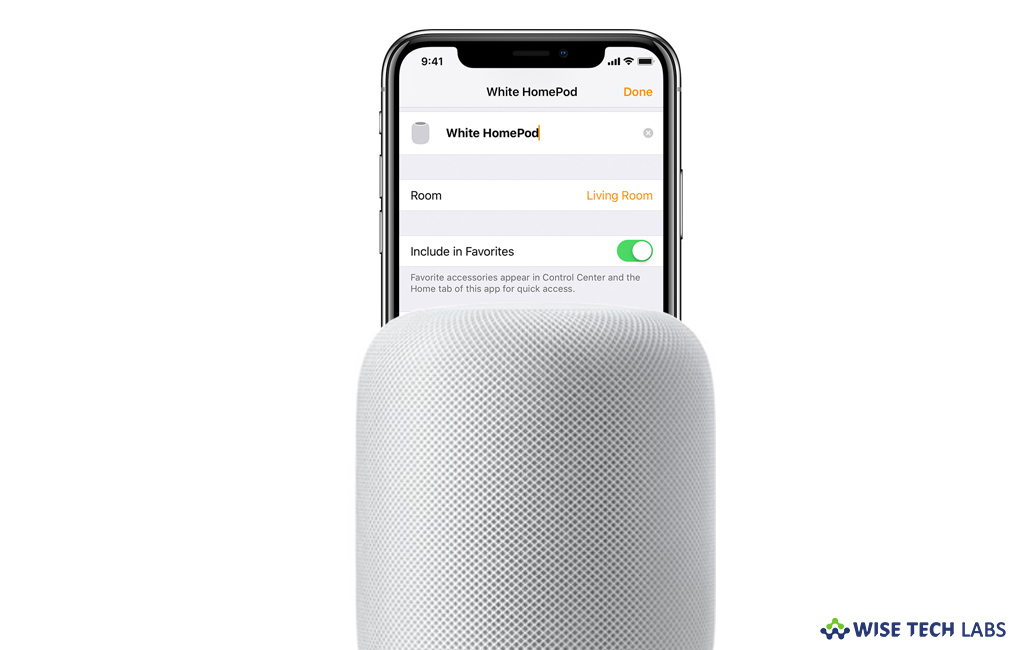
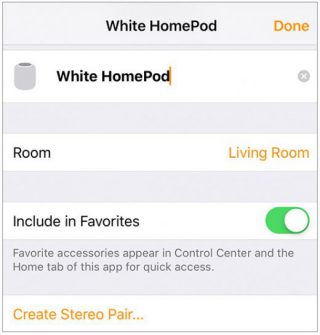
- Give HomePod a name, change the room where it is and add it to Favorites so that you may quickly access it from Control Center and Home tab.

- Moreover, you may select if you want to use Siri, manage music and podcasts and change Wi-Fi networks.
How to manage settings for multiple HomePod speakers?
If you are using multiple HomePod speakers, you may manage settings for them by following the below given steps:
- In order to find Home Settings in the Home app on your iOS device, tap on the Home icon in the top-left corner of the screen.

- If you have multiple homes, select “Home Settings.”
- On a Mac, go to Edit > Edit Home.
- From here, you may manage the following:
- Home Hub: Select if your HomePod is connected as a Home Hub.
- Share control: If you want to Invite others to control your HomePod and HomeKit accessories.
- Personal Requests: If you want to enable Personal Requests, under People, tap or click your name and then tap or click Personal Requests to allow HomePod to access Messages, Reminders, and Notes.
On iOS, you may also enable Personal Requests by pressing and holding HomePod and then tapping “Settings.”
On Mac, double-click the HomePod and click “Settings.”
- Software update: From here, check for updates, enable automatic updates, and see the software version installed on HomePod.
Now read: How to enable or disable “Type to Siri” on Mac running macOS Mojave


What other's say