How to restore deleted Photos library using Time Machine on your Mac

How to restore your deleted photos using Time Machine backup?
Time Machine is one of the most convenient ways to backup your data on your Mac. If create a back up of your Mac using Time Machine, you may easily restore a photo library to its state when the last backup was created. Moreover, if you use iCloud Photos and restore the System Photo Library from a Time Machine backup, you may restore all the Photos you have deleted after the last backup. If you selected to optimize Mac storage, you might not find a backup of your originals bu you may find them in iCloud. In case, you have deleted some photos from Photos library to free up some storage but now you want them back, you may easily restore them using Time Machine backup. Here we will provide you some easy steps to do that.
Before restoring photos, make sure that you system has enough memory storage to store those photos.
- First of all, make sure that Photos app is closed on your Mac, if it is open, select Photos > Quit Photos.
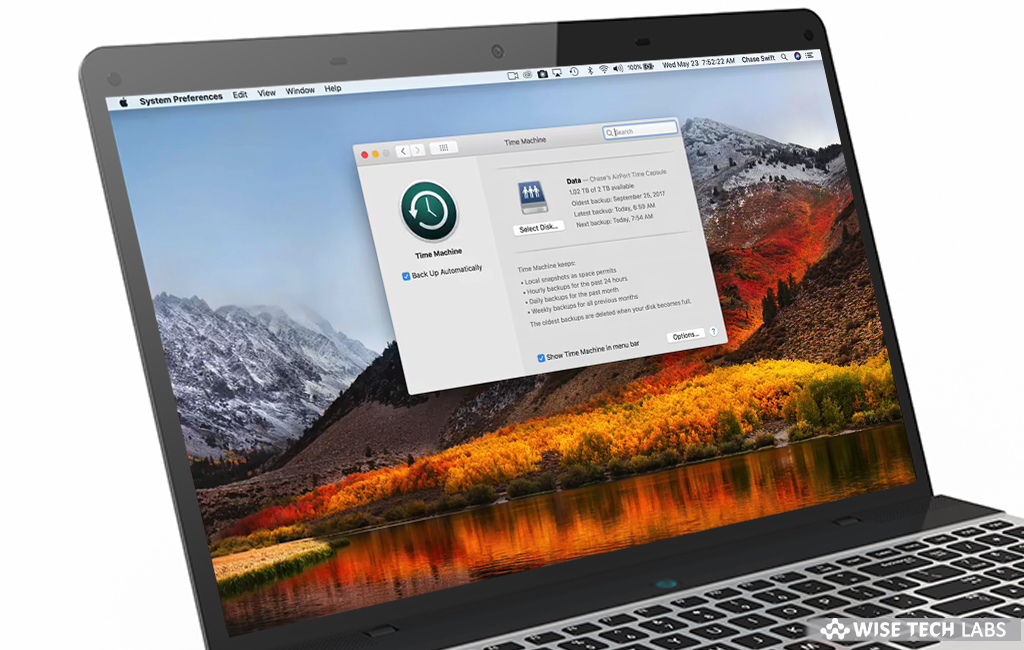
- From the menu bar, click the “Time Machine” icon and then select “Enter Time Machine” or select the Apple menu> System Preferences and then click “Time Machine.”

- As Time Machine launches, it shows your all available backups.
- Go to the backup of your photo library, locate the last backup and then select it
- To start the restoration process, click “Restore.”
This is how you may easily restore your deleted photos or photo libraries on your Mac. If you have many photos, it may take some time for your photos to be restored. Once photos are restored, you may see your Photos library as it was when last backed up.
Now read: How to use Time Machine to back up and restore your Mac


What other's say