How to hide certain pages in settings app on Windows 10

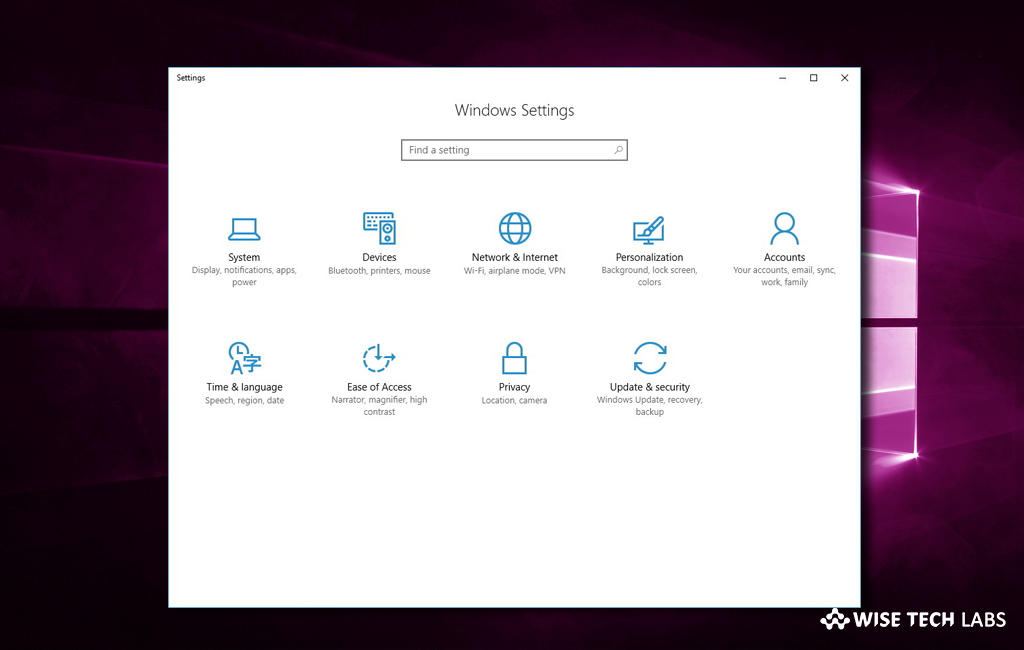
With the Windows 10 creators update, Microsoft has enhanced the settings app to another level on Windows 10. This update included many noticeable and important settings changes, including a feature to hide pages in settings app. It is really helpful to people who share their computer with friends and family members. This new feature helps you to hide some pages and prevents other users from accessing it to make any unwanted misconfiguration. If you are on Windows 10 version 1703 or later, you may easily hide certain settings pages on your Windows 10 PC. Here is a short user guide that will help you to restrict access to certain pages of the Settings app.
You may hide or restrict specific parts of Settings app using Local Group Policy Editor and Registry Editor.
Note: Before making any change in Local Group Editor, make sure you have a complete backup of your system files.
How to hide settings page using Local Group Policy Editor?
If you are a Windows 10 Pro or Enterprise user, you may hide settings page using Local Group Policy Editor. Follow these steps:
- On your Windows 10, press Windows key + R keyboard shortcut to open the Run command window.
- In the Run command window, type gpedit.msc and then click OK to launch the Local Group Policy Editor.
- Follow the below given path:
Configuration > Administrative Templates > Control Panel.
- On the right panel, locate the Settings Page Visibility policy and double-click it.
- In the properties window, select Enabled.

- Under the Options section, enter hide:<Settings page name> and then click the Apply button.
- Now, restart your system to apply the changes.
- Once your system is restarted, you will not find that specific page in the Settings app.
- Moreover, you may reverse the changes anytime by selecting Not configured or Disabled in the policy settings window.
How to hide settings page using Registry Editor?
If you are using Windows 10 Home, you may hide settings page using Registry Editor. Follow these steps:
- On your Windows 10, press Windows key + R keyboard shortcut to open the Run command window.
- In the Run command window, type regedit and then click OK to open the registry.
- Navigate to the below given path:
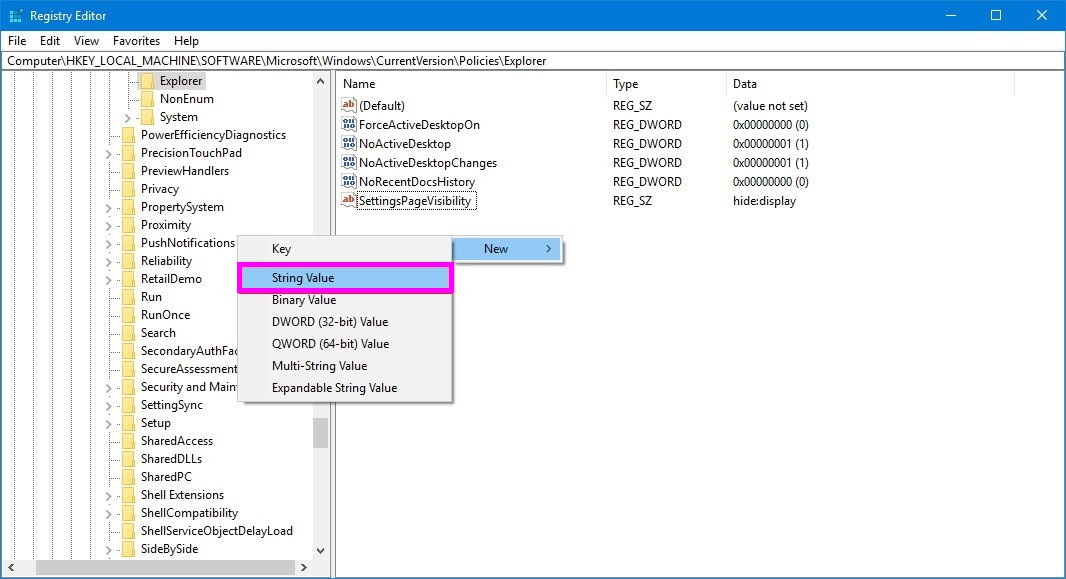
HKEY_LOCAL_MACHINE\SOFTWARE\Microsoft\Windows\CurrentVersion\Policies\Explorer
- Now, right-click on the right side of Explorer, select New and then click on String Value.

- Name the key SettingsPageVisibility and hit OK.
- Now, double-click the newly created string value, enter hide:<settings-page-name> in Value data field and then click OK.
Moreover, you may reverse the changes anytime by deleting the SettingsPageVisibility string value.
Now read: How to disable Fast User Switching feature on Windows 10


What other's say