How to insert images to a header or footer in Microsoft Word 2016

How to add picture to a header or footer in Microsoft Word?
Headers and footers help you to keep longer documents organized and make them easier to read. The text or image you enter in the header or footer will appear on each page of the document. Headers and Footers in a Word document are useful to mention dates, page numbers and other text you want. Moreover, you may also add images in your header and footer such as, you may add small version of your company or business logo in your Word document. If you don’t know how to add images in Word document, let’s learn how to do that.
In order to do that first of all, you need to add a header or footer. After creating header and footer in document you may add an image by following the below given steps:
- Open your Microsoft Word document.
- At the top left corner, click “Insert” and then click either “Header” or “Footer.”

- Now, you will see dozens of built in layouts, select whichever you like.
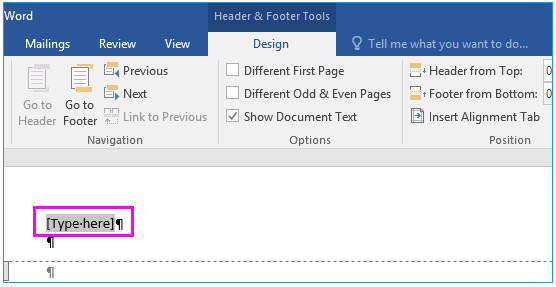
- Select the text area to replace a text area with a picture in the header or footer. For example, if you selected either the Blank or Banded layouts, you may insert image by double-clicking [Type here] or [Document title].

- On the “Header & Footer Tools Design” tab, if the picture is saved on your computer, click “Pictures” and then select your picture. If want to use online pictures, click “Online Pictures” and search the picture you want to add.
Note: After adding the picture, the ribbon automatically changes to “Picture Tools” so you may edit or resize the picture or add effects. To resize the picture, grab the small circles in the corner and adjust accordingly.
- Once you are done, on the “Header & Footer Tools Design” tab click “Close Header and Footer.”
Now read: How to use Learning Tools in Microsoft Word on Windows 10


What other's say