How to securely delete files on Windows, beyond Recovery? – Latest 2020
Do you want to deleted files permanently form your System so that they cannot be rediscovered?
When you have a file or files on your Windows computer that you want to delete permanently, it takes a lot more than dragging and dropping such files into the little trash can, called Recycle Bin, on your desktop.
Your computer’s Recycle bin only removes a file from your folders. And even if you empty the Recycle bin, only the path to the actual file is deleted. The actual file and its contents are still saved on your hard drive, it’s just that you cannot easily access such deleted files.
The best and effective way of getting rid of such files permanently is to overwrite the file with other data. Imagine scribbling over written words on a piece of paper. If you simply erase the pencil marks of the written data or use white out on pen marks, there are still things you can do to read the written words. But, if you write over those words enough before erasing them or marking them white out, then they are almost impossible to be legible.
Why would one want to delete files permanently?
You may want to securely and completely delete files if they contain sensitive information, or if you plan to dispose of your computer and want to be sure that no one can access your sensitive data that was stored on the computer.
How to permanently delete files on Windows 10?
Files Shredder is a tool that allows you to pinpoint specific files on your Windows computer and overwrite them before you delete their directories.It give you multiple options to choose how many time you want to overwrite the files with rouge data.
Step 1: Download the Files Shredder tool
Go to http://filesshredder.com and click Download Now button. The download will begin automatically after a few seconds.
Step 2: Install Files Shredder
Double-click the downloaded .exe file to begin the installation. Once Files Shredder is installed, it will launch automatically.
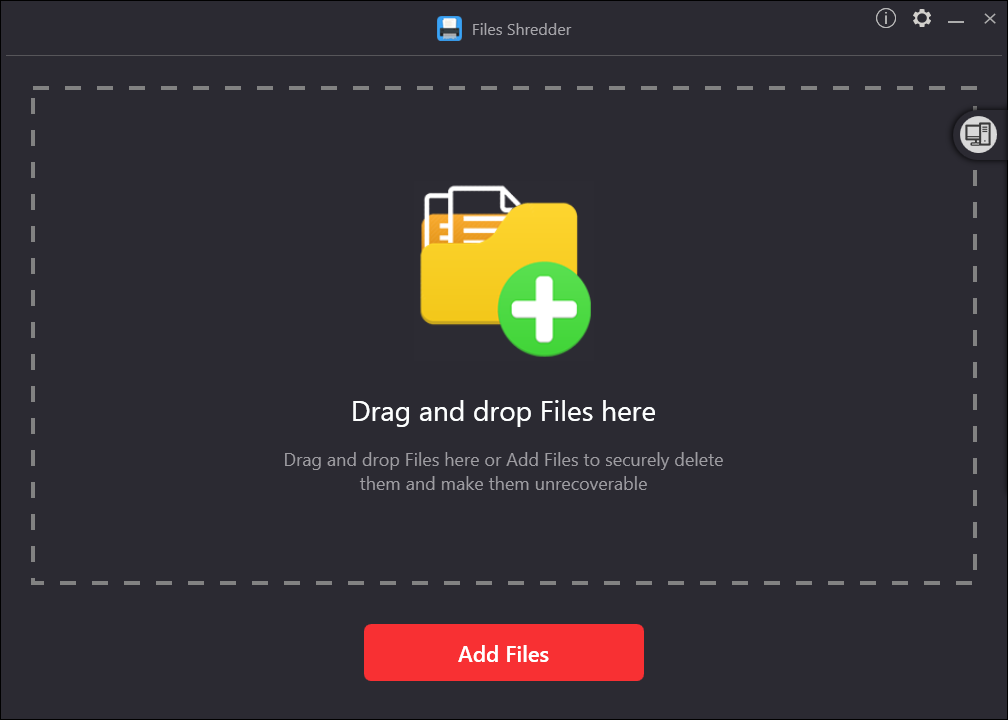
Step 3: Add Files
You can add files by clicking the “Add Files” button on the home screen of the application and navigating to desired location to select files and folders or by dragging and dropping the files and folders that you wish to delete permanently on the home screen drag and drop area.
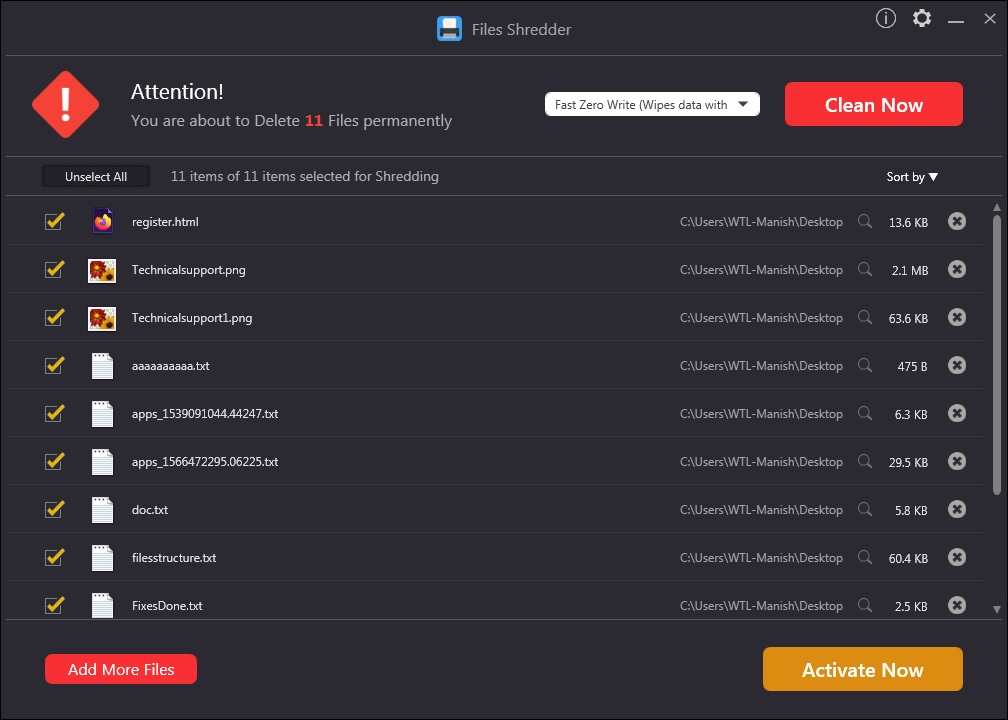
Step 4: Select the files to Delete them Permanently
Now, all Selected files and folders will be presented in a list for you to review and to be selected for secure deletion. From here, you may select or unselect files again before initiating shredding process.
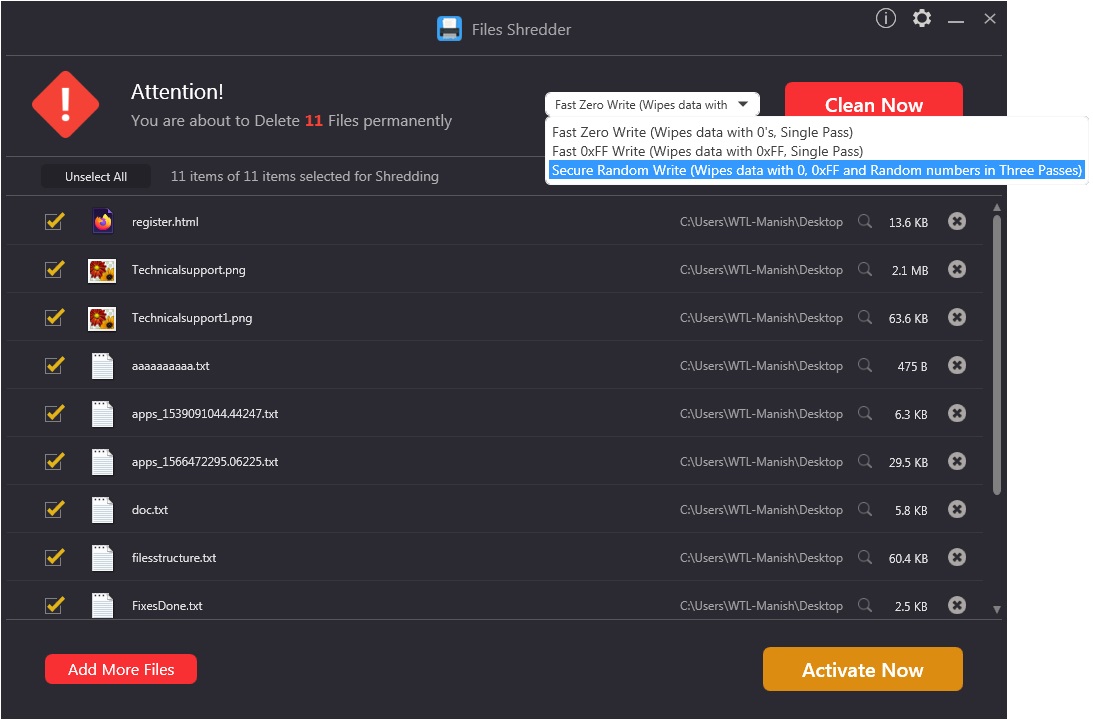
Step 5: Change the secure delete options
You can choose from three shredding algorithms to delete the selected files permanently, before you hit the “Shred Selected Items” button. This really isn’t necessary, though, and can make the delete process much slower if you choose to overwrite the file many times.
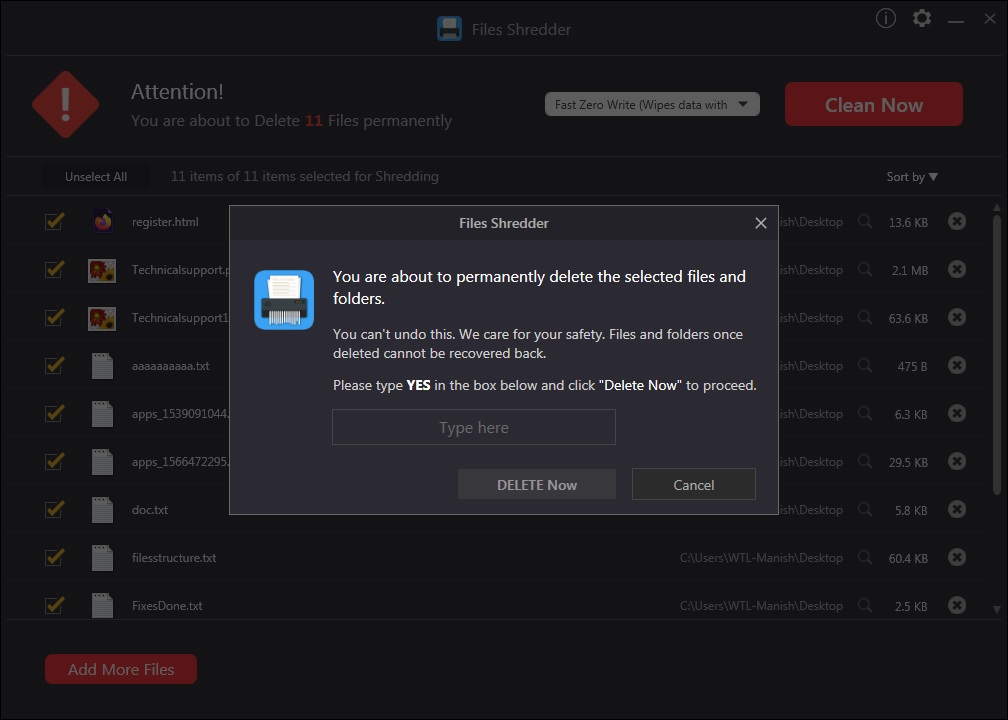
Step 6: Confirmation Dialog
We care for your safety. A confirmation dialog will be shown every time before the deletion process starts. You need to type “YES” in the given text box to proceed with secure deletion. Files once deleted cannot be recovered back by any means and thus double checking is important.
Protect your privacy and data security by securely deleting unneeded sensitive data from your Mac using “Files Shredder“. Keep your information secure and impossible for anyone to retrieve.
Once shredding is completed, you will see a “Cleanup Completed” screen which informs you about shredded and available space on your startup disk.
Warning!!!
The data once erased using Files Shredder cannot be recovered back using any powerful data recovery software. Hence, before selecting the files be careful and revise the selection twice before hitting the ‘Clean Now’ button.


What other's say