How to send files using Nearby Sharing feature on Windows 10
After Apple’s AirDrop feature, Microsoft has also launched “Nearby sharing” with the Windows 10’s April update. With this feature, you may send a photo, file or website address to anyone nearby, even if your Windows 10 PC is not connected to the internet. This feature uses Bluetooth and peer-to-peer Wi-Fi to transfer files. Let’s learn how to send files using “Nearby Sharing” feature on your Windows 10 PC.
To enable Nearby Sharing on your Windows10 PC
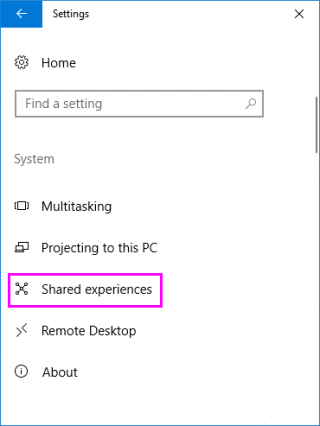
- In order do that, go to Settings > System > Shared experiences.
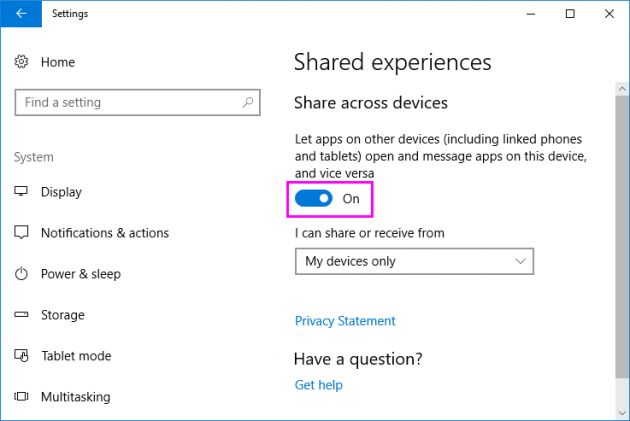
- Now turn on the toggle button to enable Nearby Sharing.
- You may also enable it from Action canter, if icon is not there, you may add it by going to Settings > Notifications & actions > Add or remove quick actions.
To share File using Nearby Sharing on your Windows10 PC
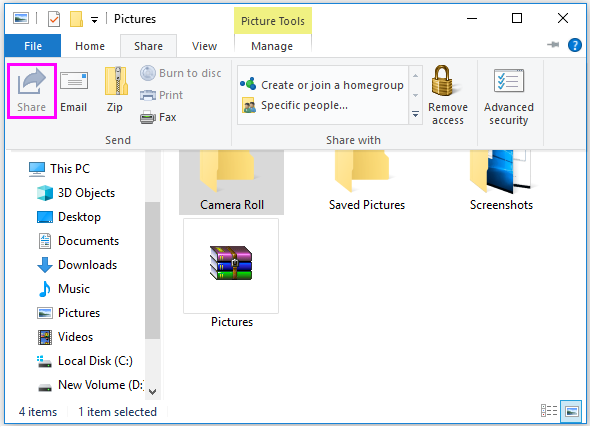
- Launch “File Explorer” in your Windows 10 PC.
- Go to the file which you want to share.
- Click “Share” on the top left corner or you may also right-click on the file and select “Share.”
- In the next window that appears, you will see the list of connected devices, apps and contacts.
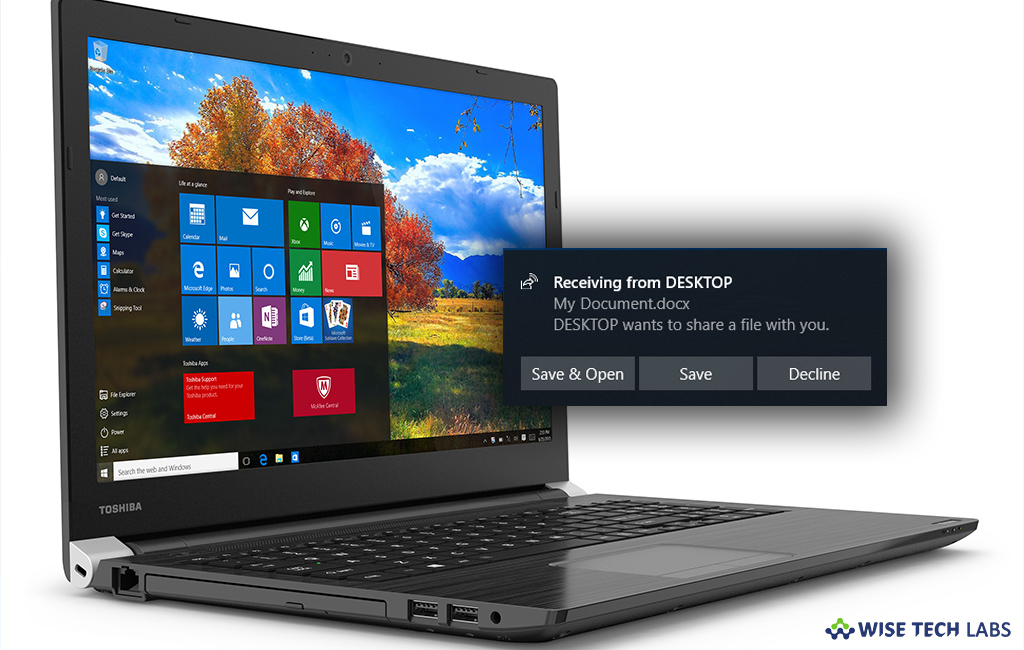
- Once device is selected, you will get the notification that your file is being shared.
- You will also be notified that you sharing file is received on the device. You may Save or Decline this notification.


What other's say