How to encrypt and protect a disk with a password in your Mac

Protect a drive with a password using Disk Utility
If you want to format internal or external disk storage, you may encrypt and protect the storage with a password. Once your internal disk is encrypted, you need to enter a password to access the disk and its content. In case of external device, you need to enter the password while connecting the device to your Mac. Let’s learn how to encrypt and protect a disk with a password.
Before doing that, create a back up of your data and all contents of your internal disk. Follow the below given steps to encrypt and protect a disk:
- Go to Applications> Utilities>Disk Utility.
- If you want to protect an external drive, make sure it’s connected to your Mac.
- Select View > Show All Devices.

- In the sidebar, select the drive you want to encrypt and write down the volume’s file format (either APFS or Mac OS Extended). Then click “Erase.”
- Enter a name for the volume.
- Click the Format pop-up menu and select APFS (Encrypted) or Mac OS Extended (Journaled, Encrypted).
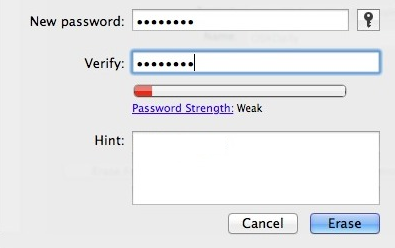
- Set a password when prompted.

- If you select Mac OS Extended (Journaled, Encrypted), to prevent the erased files from being recovered, use the slider to select how many times to write over the erased data and then click “OK.”
- Click “Erase.”
Once your process is completed and drive is ejected, connecting it again will require a password before it is even mounted.


What other's say