How to reset Touch Pad settings to default in Windows 10

How to reset Touch Pad settings to default on your Laptop?
Many times, when you keep changing touch pad settings on your laptop, you get confused with the settings of the Touchpad, especially while using multi-swipe gestures or 2-finger/3-finger swiping on the Touchpad. If you think that you are messed up with Touchpad settings, you may easily reset to default setting on your laptop. Here, we will provide you a step by step guide to reset settings.
If you are facing any issue or messed up with touch pad settings, you may reset them to default by following the below given steps:
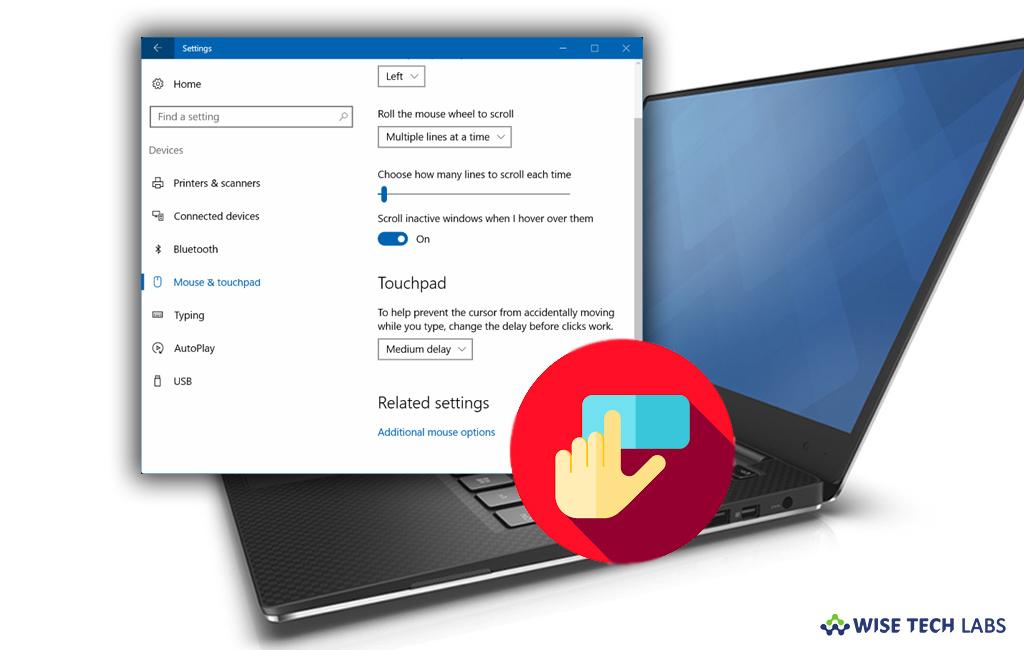
- On your Windows 10 laptop, open Settings > Devices.
- On the left-hand side bar, click “Mouse and touchpad.”
- Scroll down and then click “Additional mouse options.”

- Next, you can see the “Mouse Properties” Here, the last tab is “Device Settings” (The tab name may vary with laptop brand such as for Lenovo laptops, the last option would be “Thinkpad” and for Dell laptop, it could be “Dell Touchpad”).

- Click on the “Device Settings” tab or “Dell Touchpad” or “Thinkpad” and then select “Default.”
- It may also show “Restore to default” or “Restore All Default” instead of Default for some laptops.

By following above given steps, you may reset Touchpad settings on your Windows 10 laptop. Moreover, you want you may also enable or disable touch pad from the same settings page.
Now read: How to change schedule to restart or pause updates in Windows 10


What other's say