How to use VLC Media Player as a Screen recording tool

How to record your computer screen using VLC media player?
VLC Media Player is an open source utility and one of the most popular media players. VLC media player is known for its capability to support almost all media formats. Apart from playing music and videos, you may also do multiple things with VLC. VLC Media Player is the first choice for both PC and Smartphone users. If you are a computer user and looking for a computer screen recorder, you need not to install any other software. If you are already VLC on your computer you may easily record your computer screen using it. Let’s learn how to do it.
If you want to use VLC media player as a screen recording or capturing tool, follow the below given simple steps to do that:
- Launch VLC media player on your computer.
- Click View > Advanced Controls, doing so will show few more buttons on the interface.

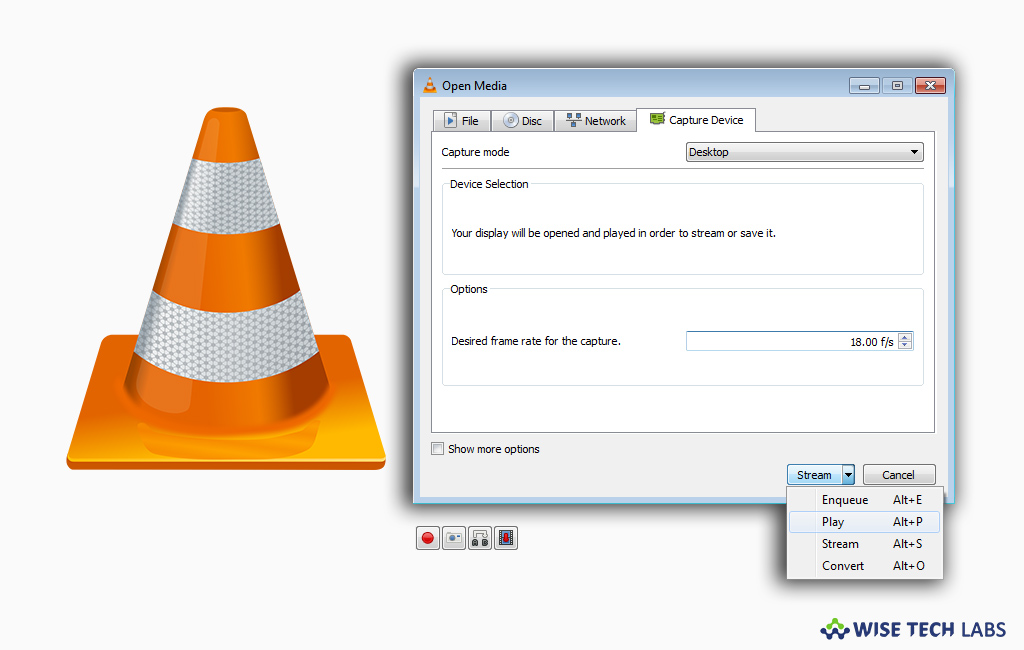
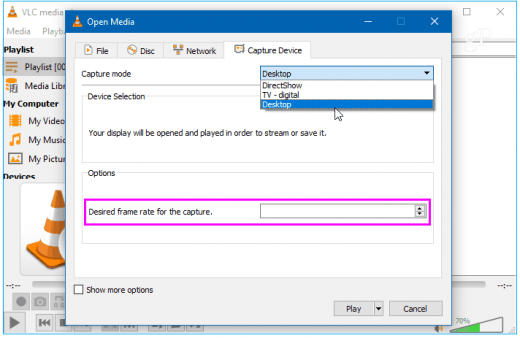
- Now, press “Ctrl + C” or click Media > Open Capture Device and change the “Capture mode” menu to Desktop.
- Here, you may also set the desired frame rate to “11 fps” (frames per second). Moreover, you may set that higher or lower based on the quality you really want.

- After configuring the capture device and frame rate, click on the “Play button.”
- As you click the play button, VLC will start showing your desktop. Make sure VLC is not maximized otherwise; you will only see an endless cascading video of VLC recording the desktop.
- Click on the “Record button” to start recording and minimize the VLC window.
- Perform the task that you want to record and show in your screencast.
- Once you’re done, restore the VLC view and click the “Record button” again to stop recording the desktop.
- VLC will automatically save an AVI file in your Videos folder which you may share or do whatever you want with it.
This is how you may easily capture or record your computer screen using VLC media player.
Now read: How to rotate video in VLC Media Player on Windows


What other's say