How to disable Storage Sense feature on your Windows 10 PC

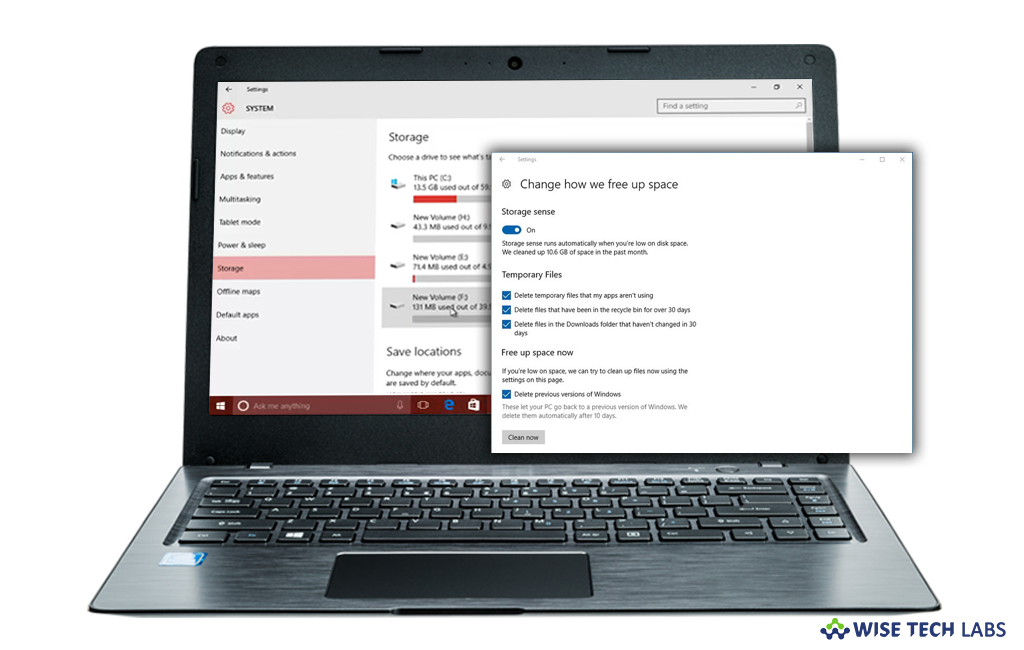
In Windows 10, Microsoft added a new Storage Sense feature that contains the ability to automatically empty your Recycle bin, delete temporary files and remove a number of other files to free up your disk storage. With Storage Sense feature, you may remove Windows upgrade log files, Defender Antivirus temporary files, system-created Windows Error Reporting Files, Windows Thumbnails, Temporary Internet Files, Device driver packages, Delivery Optimization Files, Downloaded Program Files and more. However, it is a good option to keep your system storage cleaned but it is not liked by everyone. If you are one of them and want to disable Storage Sense feature on your Mac, let’s learn how to do that.
How to disable Storage Sense feature from Settings?
Follow the below given steps to disable Storage Sense feature from settings in your Windows 10 PC.
- On your Windows 10 PC, open “Settings.”
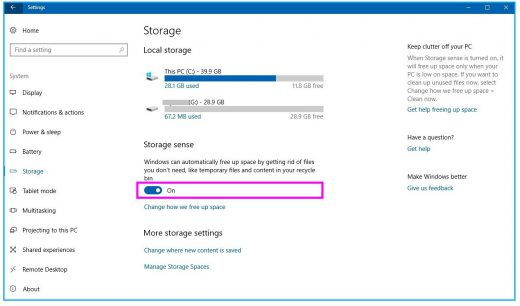
- Select System > Storage.
- From the right side pane, disable the “Storage sense”

How to disable Storage Sense feature using Registry Editor?
Before proceeding make sure that you are signed in with Administrator account on your Windows 10 PC. Then, you may disable Storage Sense feature using Registry Editor.
- On your Windows 10, press “Windows+ Run” key shortcut, type “Regedit” and hit enter to open the registry editor.
- Follow the below given path:
HKEY_CURRENT_USER\Software\Microsoft\Windows\CurrentVersion\StorageSense\Parameters\StoragePolicy
- On the right side pane, edit or create a new 32-Bit DWORD value named 01.
- Double click on it to set its value to “0” for disabling the Storage Sense feature and set “1” for re-enabling it.
- Once you are done with changes, sign out and sign in to your user account.
This is how you may disable Storage Sense feature on your Windows 10 PC and keep your system cleaned. Moreover, if you want to free up more space and you have large files that have been in the recycle bin for less than a month, you have to delete those files manually or empty the bin completely.
Now read: How to disable automatic repair loop in your Windows 10 PC


What other's say