How to create custom cover pages in Microsoft Word 2016

Cover page plays an important role to attract readers. If you are one of them who loves to use various cover pages, fortunately, word has this feature. Moreover, you may also customize your own cover page and use in Microsoft Word, while creating any document or assignment. Here, we will provide you a step by step guide to create custom cover pages in Word.
How to add a prepared Cover Page to Your Word Document?
Microsoft word has some default cover pages, if you want to make some changes and use them in Microsoft Word document, you may easily do it by following the below given steps:
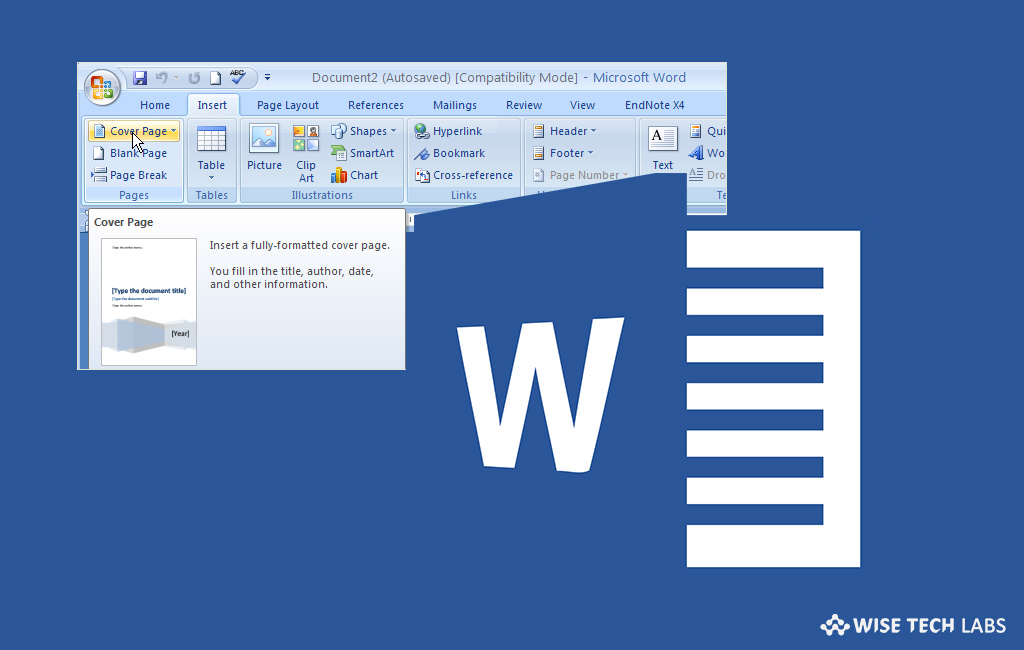
- Select “Insert” tab on Word’s Ribbon and then click the “Cover Page” button. In case your window is not maximized, you might see a “Pages” button instead. Click on it to get the “Cover Page” button.

- In the drop-down menu, select the cover page you want to use.

- After selecting cover page, you may add your document title, subtitle, date, and other information and make some changes in the design as per your need.
How to create a custom cover page in Word?
It is quite easy to create cover page using a template but if you don’t like any of the default designs, you may create your own. You may do it in every existing document but starting with a blank document will be more convenient.
While creating your own cover page, you may add a background color, picture, or texture and change the position of all these elements as you want. Moreover, there are many other options that help you to type the text you want, but that will not make it much of a template unless you want the same text on the cover page always you use it. Instead, you may use Word’s Quick Parts feature to add document properties to the document.
- In order to do that, select “Insert” tab and then click the “Quick Parts.”
- In the drop-down menu, go to “Document Property” sub menu and you can see different properties that you may insert into your document such as author, title, company, publish date and more.

- Here, you may insert the properties you want to display on your title page.
- After completing the above steps, you will get several fields on your page. When you insert your cover page into a document, those fields get filled with actual properties from the document, if you want, you may also edit them.

- It may start with the plain design, if you want, you may change text in Word by applying styles and formatting, centering them.
By following the above given instructions, you create your own cover page and use it in Microsoft Word document. Moreover, you may create a template by using this customized cover page.
- In order to do that, select the entire document, click “Insert” tab and then Click “Cover Page.”

- Select “Save Selection to Cover Page Gallery” from the drop-down menu.
- In the window appears, you may give a name to your cover page and fill out a brief description if you want and then click “OK.”

- After doing that, whenever you will open the “Cover Page” drop-down menu, you’ll see your new cover page template in the “General” section and insert it.
Now read: How to change the measurement unit for ruler in Microsoft Word 2016


What other's say