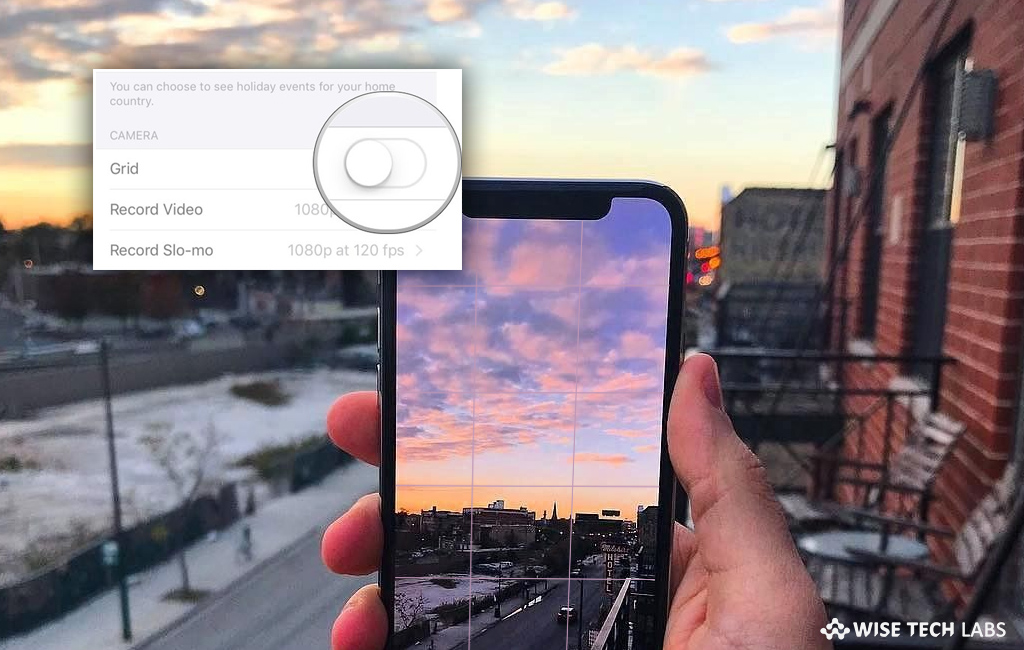
How to enable and use level feature in iPhone or iPad

Apple’s default camera has many advanced features including Level feature. Most of the Apple users are not aware of this camera feature. By default, Level feature is turned off. You may enable this feature to click a perfect picture, especially in right angles. With this feature, you may set a perfect alignment while using camera. It is the best feature to click pictures above your head such as object on the ceiling or in the sky. If you have updated your iOS device to iOS 12 or later, you may enable and use this amazing camera feature. Let’s learn how to do that.
How to enable Level feature in iPhone or iPad?
The camera Level feature is a part of Grid, you may enable the Grid by following the below given steps:
- Open the Settings app on your iPhone or iPad.
- Scroll down the list to locate “Camera” and then tap on it.
- On the next screen appears, enable the switch next to “Grid”, doing so will turn the switch into green color.

How to use Level feature in iPhone or iPad?
After enabling the level feature, you may use this new camera feature by following the below given steps:
- Launch the Camera app on your iPhone or iPad.
- Now, select the capture mode from Photo, Portrait, Square or Time Lapse, using the sliding menu above the shutter button.
- Point the camera straight down above your subject or straight up if the subject you want to capture is above your head.
- Align the floating crosshair with the fixed crosshair in the center of the screen by adjusting the angle of your phone’s camera.
- Once you get the perfect alignment, the crosshairs will start glowing yellow.
- Finally, tap the “shutter button” to click the picture.
This is how you may click evenly leveled pictures using the native camera of your iPhone or iPad. Moreover, this tool is very useful while clicking a picture or document to scan.
Now read: How to use continuity camera in macOS Mojave and iOS 12


What other's say