How to Make an Infographic to Promote Your Brand – DesignCap Tutorial

You have certainly seen at least one infographic in your life. They are used in various areas, especially in advertising campaigns.
Although we have looked at various infographics throughout our lives, many people do not know the true essence of infographics, how they created to help a brand or campaign achieve its goals. Yes, I believe you can find detail instruction in this article now.
What are infographics?
Infographics are tools widely used by professionals and ordinary people today, and appear on social networks, websites, media. The main advantage of the infographic is that it allows a series of information to be condensed and organized into a small space on the screen.
Anyway, infographics have great power over the public. That’s why they are the option that many companies turn to attract customers, or simply inform your audience.

DesignCap: Make infographicdesign much easier
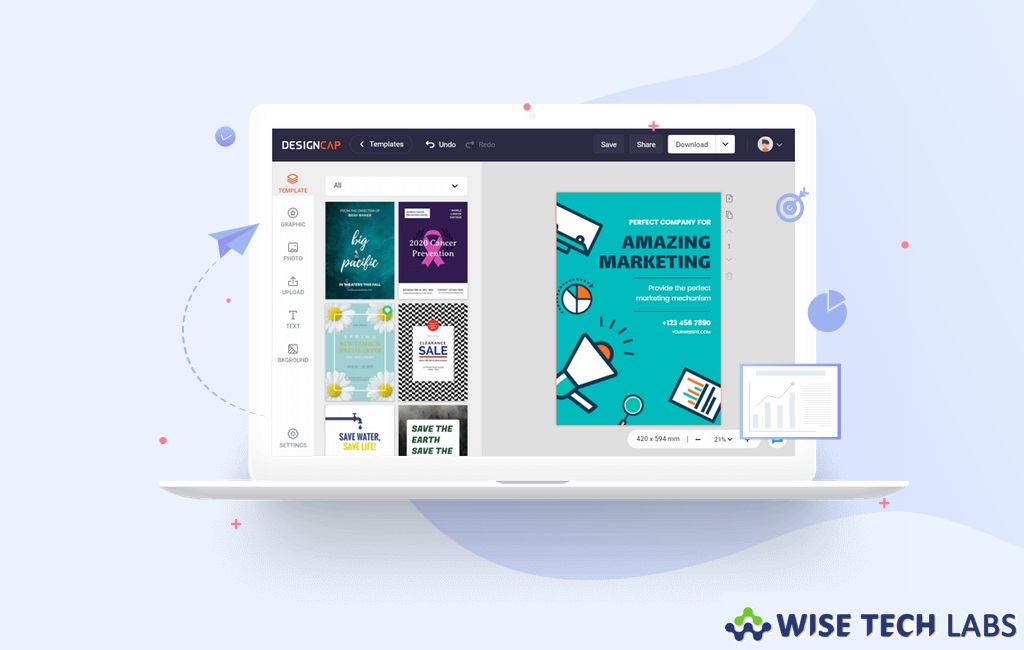
If you want to create your infographic quickly and online I suggest you use DesignCap, a cool online service with lots of options for creating infographics, reports, posters, banners, social media content and more.
The platform is very simple, free and effective for those who want to create an infographic. DesignCap focuses on the information you want to spend and the data than the design itself, helping a lot in time to enter the most complex information in the project. But still, it has lots of beautiful templates. If you are looking deep into the content of your infographic, this is certainly one of the best tools.

How to create an online infographic in DesignCap
Step 1: Make your registration
It’s so much simpler than you might think! The first step is to create an account on the site using your email, Facebook or Gmail. The process is free, takes a few minutes, and you don’t have to answer a long questionnaire about yourself or your business to continue.
Step 2: Select a template
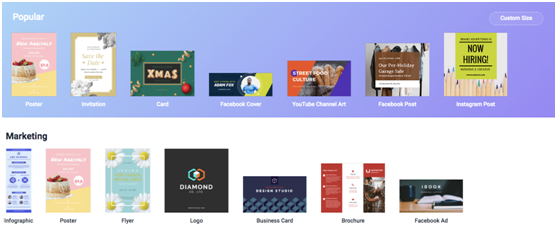
DesignCap has extensive template library for infographics that can be completely edited by you.
Step 3: Upload your photos
It is available to add your own personal touch by uploading your own photos, graphics, and images. Of course, this step is optional. You will also have access to its library with lots of elements available for use.
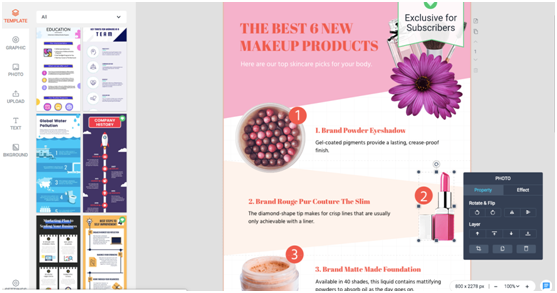
Step 4: Customize templates according to your needs
You can:
edit elements in the template by click on them.
change the text, icons, lines, symbols, and colors.
add graphics, maps, images, frames, etc.
Step 5: Download, share or print your infographic
Finished? Now is the time to decide to download, share and print your design. You can download the file in popular formats, JPG and PNG, and in PDF – Print format, where your material will be available with cut and bleed marks, ready to be printed by you. In addition, it is possible to share it to twitter, facebook, Pinterest, or embed the infographic on your site as well as view it on the web.

Final words
Now that you know the essence and method of creating infographics, it’s time to use this tool to your advantage. Whether to leverage your sales, create campaigns or for any other informational purpose, infographics are one of the best ways to reach your audience.
Cheers!


What other's say