How to share screen on your Mac without using any third-party application

Fixing issue on a computer is much easier when you may share your computer screen. It is very easy to describe the issue and get solution by sharing the system screen than just telling the issue over the call. If you are facing any issue in your Apple computer, you need not to worry. Apple Computers come with the pre-configured application or setting that helps you to share your Mac screen with a support person, without downloading any third-party application. Basically, you may share your Mac screen using iMessage or system preferences. Now, let’s learn how to share your Mac screen with these default settings or tools.
How to share screen on your Mac using system preferences?
You may easily enable screen sharing on your Mac from system preferences. When screen sharing is enabled on your Mac, your Mac desktop can be seen from another Mac on your network:
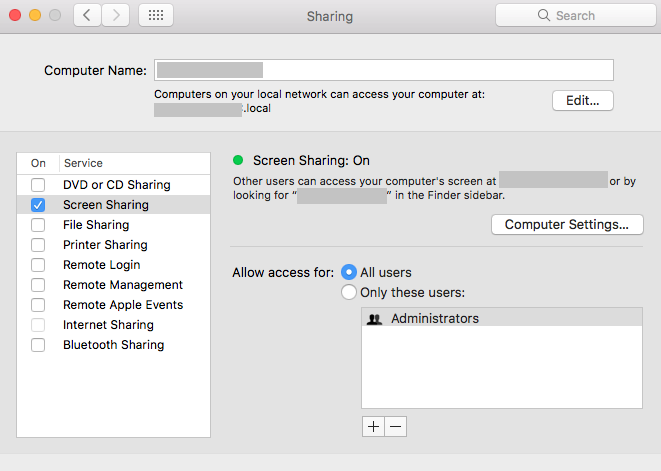
- On your Mac, select Apple menu > System Preferences and then click “Sharing.”
- On the window appears, if “Remote Management” is checked, uncheck it.
- If you don’t have both Screen Sharing and Remote Management at the same time, check the box next to “Screen Sharing.”

- Now, select any of the below options to specify who can share your screen:
- All users: To share the screen with anyone connected to your network server.
- Only these users: To share screen with specific users.
- If you select “Only these users”, click “+” button at the bottom of the users list and then select the users either from Users & Groups or Network Groups.
- To configure additional options for screen sharing, click “Computer Settings” and then select one or both of the following:
- Anyone may request permission to control screen: Before other computer users start sharing the screen of your Mac, they can ask for permission instead of entering a username and password.
- VNC viewers may control screen with password: Other users may share your screen using a VNC viewer app by entering specific password, on iPad or a Windows PC.

How to share screen on your Mac using iMessage?
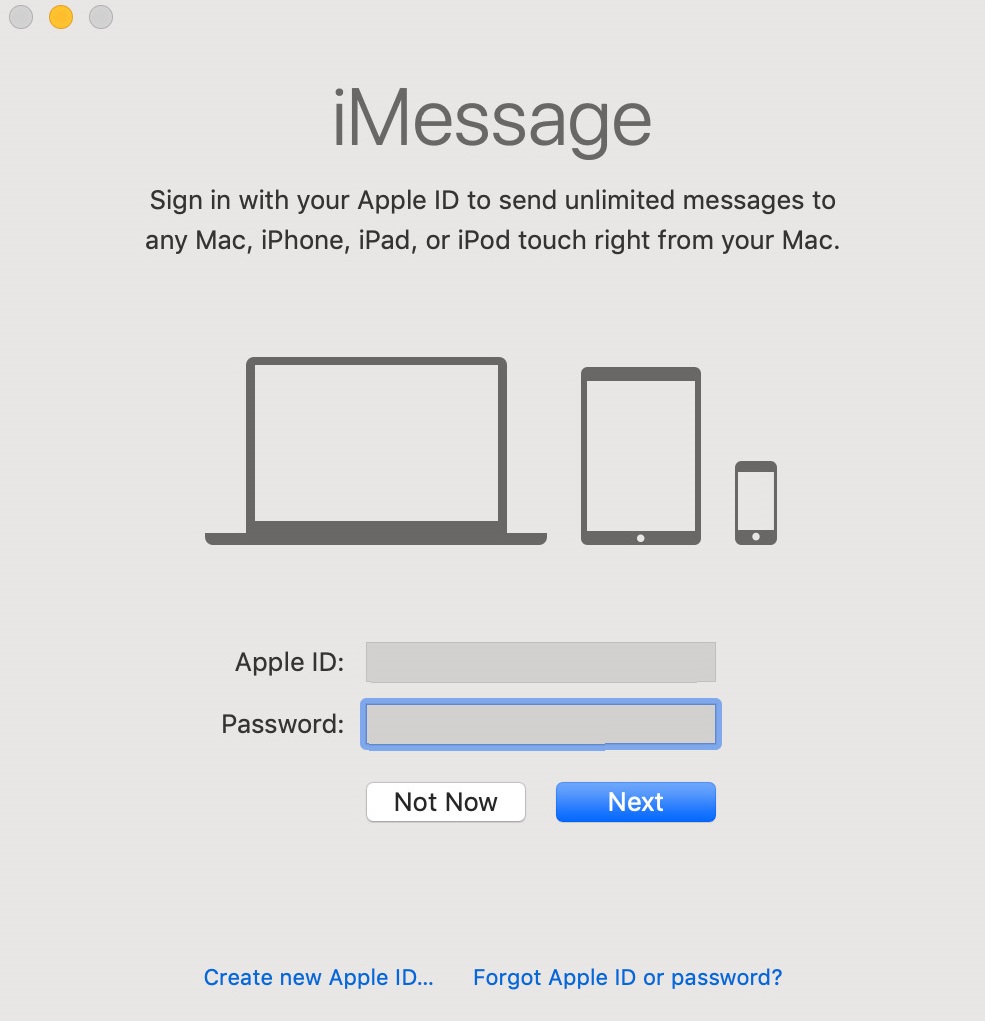
During a conversation with someone in Messages, you may share your screen with them, or they may share theirs with you, follow these steps:
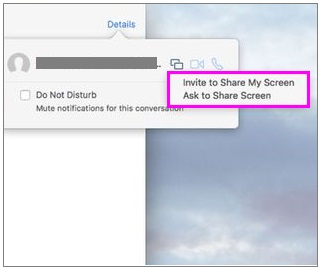
- Open Messages app on your Mac, send a message to the person you want to share screen with and then click “Details.”
- Now, click the “Screen Share” button and select the any of the following options.

- To share your screen: Select “Invite to share my screen.”
- To view your friend’s screen: Select “Ask to share screen.”
- When the screen-sharing request is accepted, an audio call starts automatically so you may talk while using the Screen Sharing app. To get the information about using the Screen Sharing app, click “Share the screen of another Mac.”
- Once your screen sharing session is done, you may stop screen sharing by selecting one of the following options:
- If you are sharing your screen: Click the “Screen Sharing” button in the menu bar and then select “End Screen Sharing.” If you want to stop it for a specific time, select “Pause Screen Sharing” and then click it again to resume sharing.
- If you are viewing your friend’s screen: Select Screen Sharing > Quit or click the red close button in the screen-sharing window.
Now read: How to change the desktop or background image on your Mac
If you want to keep your Mac optimized and Healthy, Wise Mac Care performs basic cleanup and maintenance for FREE. Plus, Wise Mac Care helps you to free up your Mac hard disk from unwanted log files and to get more space to run your Mac smoothly. Wise Mac Care also works as a deep cleaner and memory optimizer to provide smoother and faster Mac Performance. Download Wise Mac Care for FREE and boost your system performance with just a few clicks.


What other's say