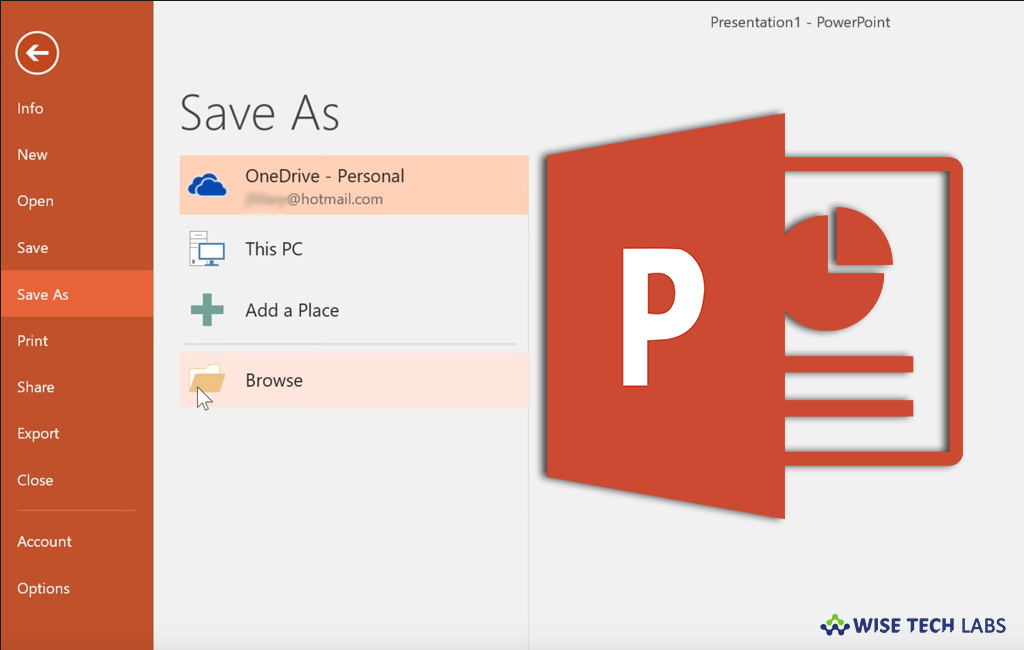
How to save your presentation in Microsoft PowerPoint 2016

PowerPoint is one of the most important parts of Microsoft Office 2016 or 365. PowerPoint is specially designed to provide visuals for seminar presentations within business organizations. Moreover it is also widely used in many other communication situations, both in business and beyond. Once a presentation is created you may save it to CD or USB Flash Drive so that other people can see your presentation on any computer. Here, we will provide you a step by step guide to save your presentations created in PowerPoint 2016.
How to save your PowerPoint presentation to CD?
If you want to save your presentation package to a CD, follow the below given steps to do that:
- First of all, insert a blank recordable CD (CD-R), a blank re-writable CD (CD-RW) or a CD-RW in the disk drive.
- In PowerPoint, select File > Export > Package Presentation for CD >Package for CD.
- In the “Package for CD”window, enter a name for your CD in the “Name the CD”

- If you want to one or more presentations to package together, click “Add” to select the presentation and then again click “Add.” (By repeating this step you may add one or more presentations).
Note: You may re-order the presentations by using the arrow buttons on the left side of the dialog box. Your presentation will be played in the arranged order.
- Moreover, you need to add supplementary files such as TrueType fonts or linked files by clicking “Options.”
- Under “Include these files” section, select the applicable check boxes and then click “OK.”

- Click “Copy to CD” in the “Package for CD” window.
How to save your PowerPoint presentation to a USB Flash Drive?
You may also save your PowerPoint presentation to a USB Flash Drive by following below given steps:
- In your computer, insert a USB flash drive in a USB slot.
- In PowerPoint, select File > Export > Package Presentation for CD >Package for CD
- In the “Package for CD”window, enter a name for your CD in the “Name the CD.”

- If you want to one or more presentations to package together, click “Add” to select the presentation and then again click “Add.”(By repeating this step you may add one or more presentations).
- Moreover, you need to add supplementary files such as True Type fonts or linked files by clicking “Options.”
- Under “Include these files” section, select the applicable check boxes and then click “OK.”

- Click “Copy to CD” in the “Package for CD” window.
- Next, select “Browse” in the “Copy to Folder”
- In the “Choose Location” window, find your USB flash drive, select it and then click “Select.”
The folder and path you chose are added to the “Location” box in the “Copy to Folder” window.
- After that, PowerPoint will ask you a question related to linked files. You should reply with “Yes” to ensure that all necessary files for the presentation are included in the package that is saved to the USB flash drive.
PowerPoint starts copying files. Once it is done, you may see the complete package on the USB flash drive.
This is how you may save your presentations to CD or USB Flash Drive so that people can easily watch them from any computer.
Now read: How to create a communication site in Office 365


What other's say