How to setup security for files and folders on a network in Windows Server 2003

How to configure files and folder security in Windows Server 2003?
If you are running an organization and sharing files on a network in Windows server 2003, Windows server security is essential to protect your data from unauthorized access. You may configure the security settings for the people or departments whom you want to allow for editing in the existing files and adding a new one, or just viewing the file content. You may also configure settings to allow the concerned departments to access the data. Here, we will provide you some easy steps to configure security for file and folders on a network with Windows Server 2003.
You may easily configure security for files and folders in Windows Server 2003, follow these steps:
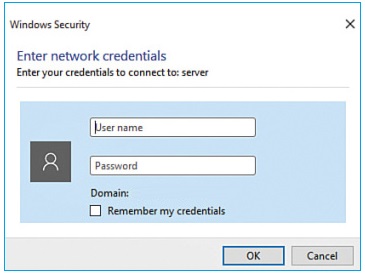
- First off, enter your domain username and password to get logged in.

- Launch “Windows Explorer”, expand “My Computer” to click the drive that contains the folder that you want to configure.
- Now, right-click the folder that you want to configure and then click “Properties.”
- Click Security tab > Advanced.
- Uncheck the box next to “Allow inheritable permissions from parent to propagate to this object and all child objects. Include these with entries explicitly defined here.”

- Click “Copy” in the “Security” dialog box that appears.
- Now, click the “OK” button.
- If you want to set permissions for a group or user who is not listed in the Group or usernames box, click “Add.”
- In the “Select Users” or “Groups” dialog box that displays, enter the names of the groups or users for whom you want to configure permissions and then click “OK.” After that, you may see the groups and users you added in the Group or usernames box.
- To grant or forbid a permission in the Permissions for “User” or “Group” box, click the user or group in the “Group” or user names box, and then click to select the “Allow” or “Deny” check box next to the permission that you want to allow or deny.
- For example, to grant Modify permission to the Accounting group, click Accounting in the Group or usernames list, and then for the Change permission, check the box next to “Allow.”
- To grant Read permission to the Sales group, click Sales in the Group or usernames list, and then for the Read permission, check the box next to “Allow.”
- Finally, click the “OK” to apply the changes.
This is how you may easily setup security setting on your Windows Server 2003.
Now read: How to restore your Windows 10 PC with a recovery drive


What other's say