7 Ways to Take a Screenshot in Microsoft Windows
While using windows, you may want to capture all or just a part of your computer screen using few keystrokes. There can be many reasons’ to learn different ways to take screenshots such as your PrtScn key not working, You want a screenshot of the active window instead of the whole screen or May be you want a screenshot of a specific area of the screen, May be you want to capture your achievements while playing games. For all such reasons, we are here to provide a list of 7 different ways to take screenshots.
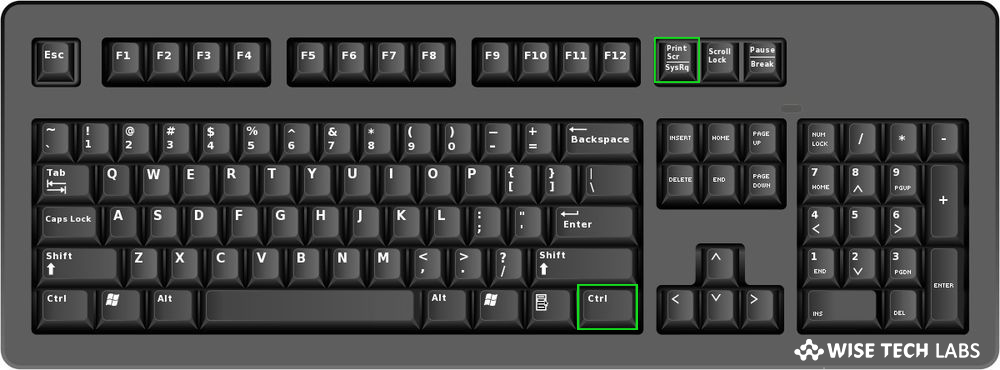
1. Press PrtScn (Print Screen) or CTRL+ PrtScn
This is one of the best and known ways to capture a screenshot for all Windows versions. Press the PrtScn (Print Screen) key or CTRL+PrtScn keys on your keyboard to get whole screen captured and auto saved on the clipboard. Then, open a photo editing program like Paint and paste the picture from the clipboard to make some basic changes and save it as a file on your computer.
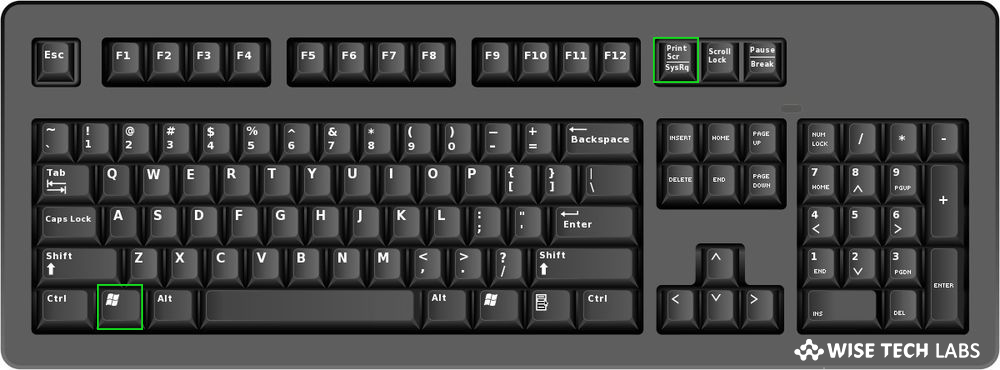
2. Press Windows + PrtScn (Windows 10 only)
This way helps you to take a screenshot of the whole screen and save it as a file on the hard drive, without using any other tools. Press Windows + PrtScn on your keyboard and stores the screenshot in the Screenshots folder of Pictures library. The file is named as “Screenshot (number).png,” where the number shows how many screenshots you have taken.
In windows 10, if you are using any Photos app, you may easily find your screenshots by going to “Folders -> Pictures -> Screenshots.”
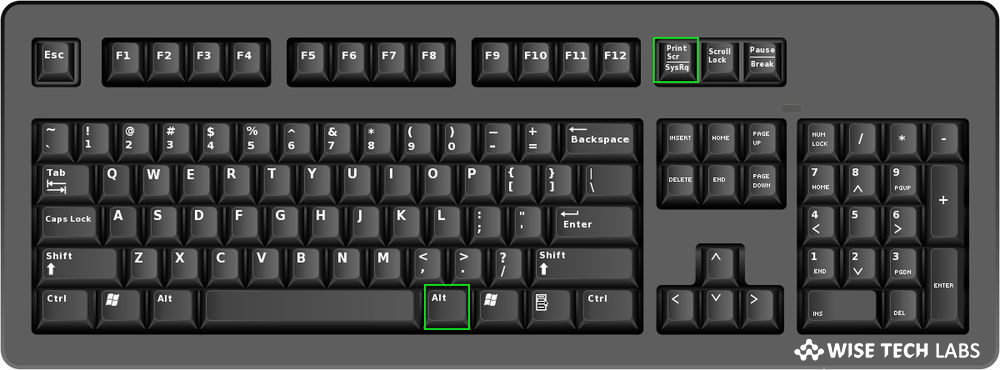
3. Press Alt + PrtScn
If you want to take a screenshot of active Window of computer, open the screen that you want to capture and press Alt + PrtScn on your keyboard. The screenshot is saved to the clipboard. Then, open Paint or any other photo editing software and paste the screenshot so that you can edit it and save it to your computer.
4. Press Windows + Shift + S (Windows 10 only)
If you are Windows 10 user, press Windows + Shift + S to take a screenshot and copy it to your clipboard. After you press Windows + Shift + S, the screen is dimmed and a cursor is shown, that you can use to select the screen part that you want to take in a screenshot. Select the area that you want to capture and release the cursor.
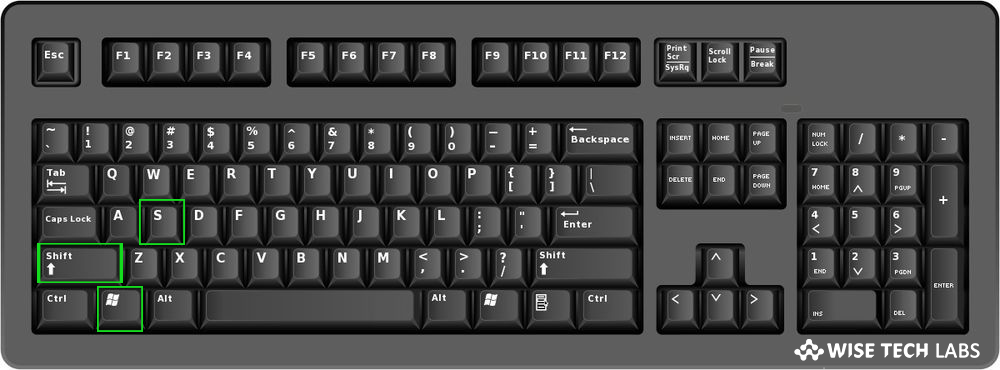
The screenshot is saved to the clipboard. Open any image editing program like Paint and paste the screenshot so that you can make basic changes and save it.
5. Using the Snipping Tool
This is windows inbuilt tool to take screenshots for desktops. You can take all type of screenshots using this tool. You can find Snipping Tool in the Start Menu search box (for Windows 10 or Windows 7) or on the Start screen (for Windows 8.1) and click on the appropriate search result.
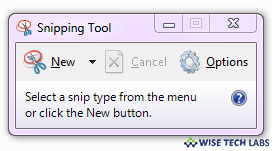
To use the Snipping tool, open it and click New to start the screenshot process. The default snip type is a rectangular snip you will use your mouse to crop a rectangular region of your screen for capture. You can also take free-form, window, and full-screen snips with the Snipping Tool. It does not automatically save your screenshots; you will need to manually save them in the tool before you exit. It does auto copy your captures to the clipboard.
6. Press Windows Logo + Volume Down
If you have a Windows tablet, then you will not have a keyboard with a PrtScn key available. Here, you may use the Snipping Tool, but you need to use the hardware buttons available on your tablet. On most windows tablets, you may capture full screen screenshots by pressing the Windows logo and the Volume Down key at the same time. Screen gets darker while doing this. This shows that a screenshot was taken. You can find the screenshot in the Screenshots folder of your Pictures library.
7. Windows + Alt + PrtScn (Windows 10 Only)
Recently, Microsoft introduced new feature Game Bar for Windows 10 especially for Gamers. The best thing is, you can do with this Game Bar is take screenshots of the active game window. While playing a game, press the keys Windows + Alt + PrtScn and a screenshot is automatically taken and saved on your Windows 10 computer.
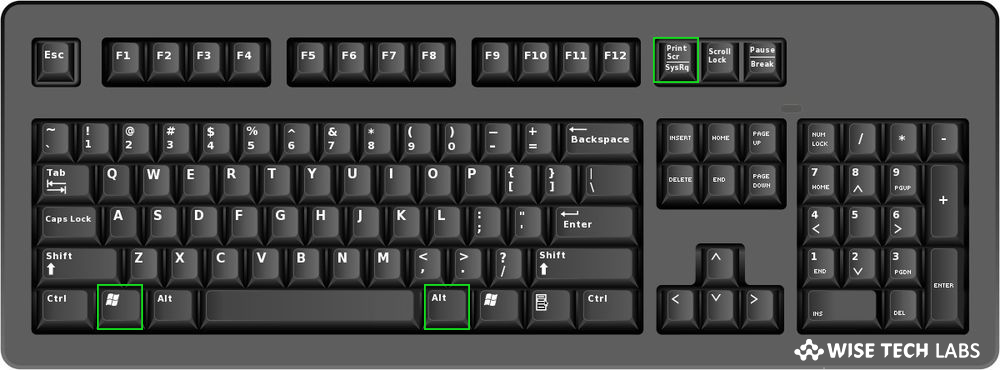
This shows how you can easily take screenshots and save them on your computer for further use.


What other's say