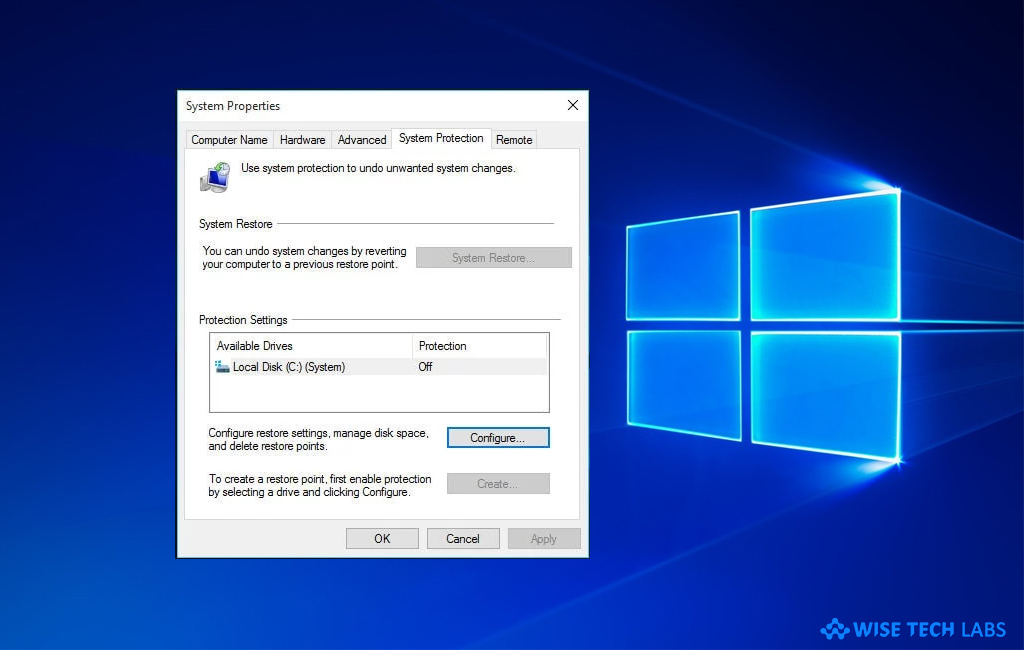
What to do if System Restore is grayed out on Windows 10

How to fix System Restore Grayed out issue in Windows 10?
System restore is an essential feature of Windows that allows one to restore to the previous state. Unfortunately, sometimes, this feature grayed out and cannot be enabled. If you are not able to fix system restore grayed out in Windows 10, do not be upset. Here we will provide you a short user guide that will help you to fix it.
There are 3 ways to fix the system restore grayed out issue, follow the below given steps:
1. Using Registry Editor
If you are using Windows 10 Home Edition, you may fix the System Restore issue using Registry Editor by following the below given steps:
- Press the “Win + R” keys to open Run window, type“regedit.exe” and then press “Enter.”
- Now, follow the below given path to get the key in the left pane of the Registry Editor window:
HKEY_LOCAL_MACHINE \ Software \ Policies \ Microsoft \ Windows NT \ SystemRestore.

- Finally, delete the DisableConfig and DisableSR values.
2. Using Group Policy Editor
If you have Group Policy Editor on your PC, you may fix the System Restore grayed out issue by following the below given steps:
- Press “Win + R” keys to open Run window, type “gpedit.msc” and then press “Enter” to open the Group Policy Editor.
- Follow the below given path:
Computer Configuration > Administrative Templates > System > System Restore.

- Now, locate the “Turn Off System Restore” setting, double click on it and then set it to “Not configured” or “Disabled.”
- Click “Apply” and then “Exit.”
- Finally, restart your PC and see that System Restore is enabled.
3. Using elevated command prompt
You may also eliminate System Restore issue by elevated command prompt, follow these steps:
- On your Windows 10 PC, right click on the start menu, type cmd, right-click it and select run as administrator option.
- In the command prompt window, enter the below command and hit “Enter”:
"%windir%\system32\rundll32.exe /d srrstr.dll,ExecuteScheduledSPPCreation"
- If the related system process is not running in the background, so you need to start it.
- To do so, press the “Win + R” keys, type “services.msc” into the Run window and click “OK.” You may also launch “Control Panel”, go to “Administrative Tools” and then open the services shortcut.
- In services Window, locate “Volume Shadow Copy“, double click on it and then click on the Start button. If its Startup type is set to “Disabled”, change it to “Automatic” and then click “OK.”
Now read: How to turn high contrast mode on or off in Windows 10


What other's say