How to disable automatic repair loop in your Windows 10 PC

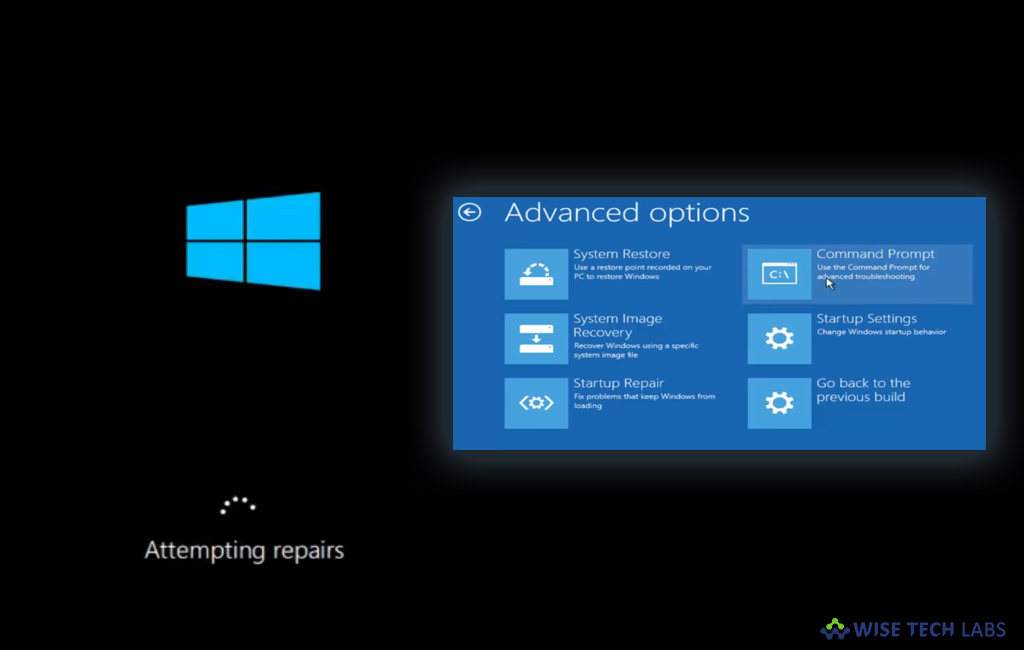
With Windows 10, Microsoft added an automatic repair tool that detects and fixes common problems that may stop your PC from starting up correctly. If your computer goes into the scanning and repair drive loop at startup, the system will run a number of diagnostic tests to detect and fix common startup problems. If you prefer to repair such issues manually and want to disable automatic repair, we will be glad to help you with this.
How to disable or enable automatic repair on your Windows 10 PC?
By following the below given steps, you may disable automatic repair and stop it from causing unexpected loops.
- On your Windows 10 PC, open “Start” menu.
- Search for “Command Prompt”, right-click the top result and then select “Run as administrator.”
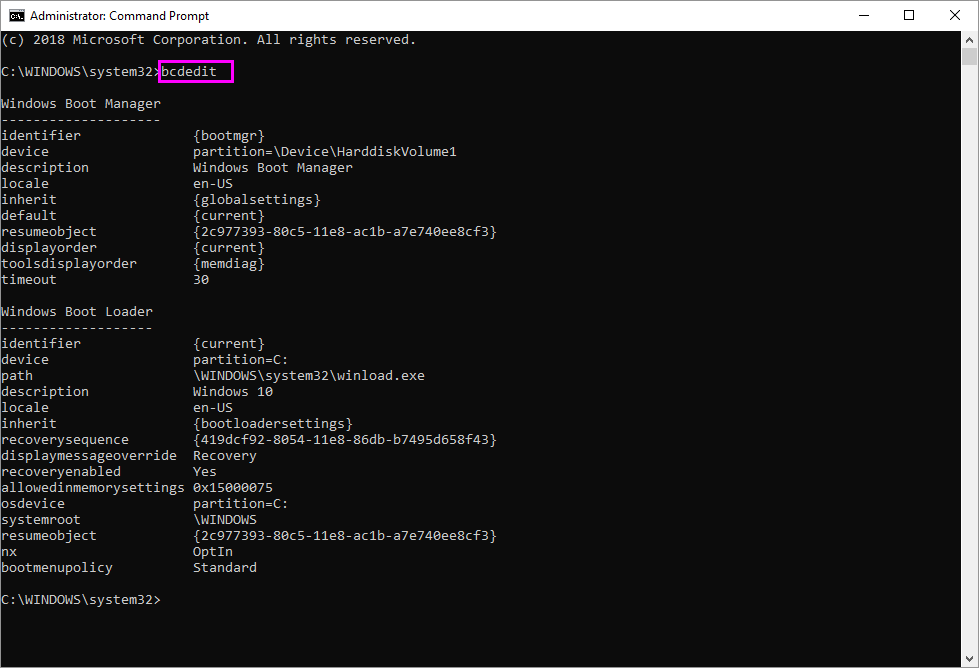
- In the Command Window, type the following command and then hit “Enter”
bcdedit

- A list appears. Towards the top, you will see “resumeobject.” Highlight the long number, including the brackets, and copy.
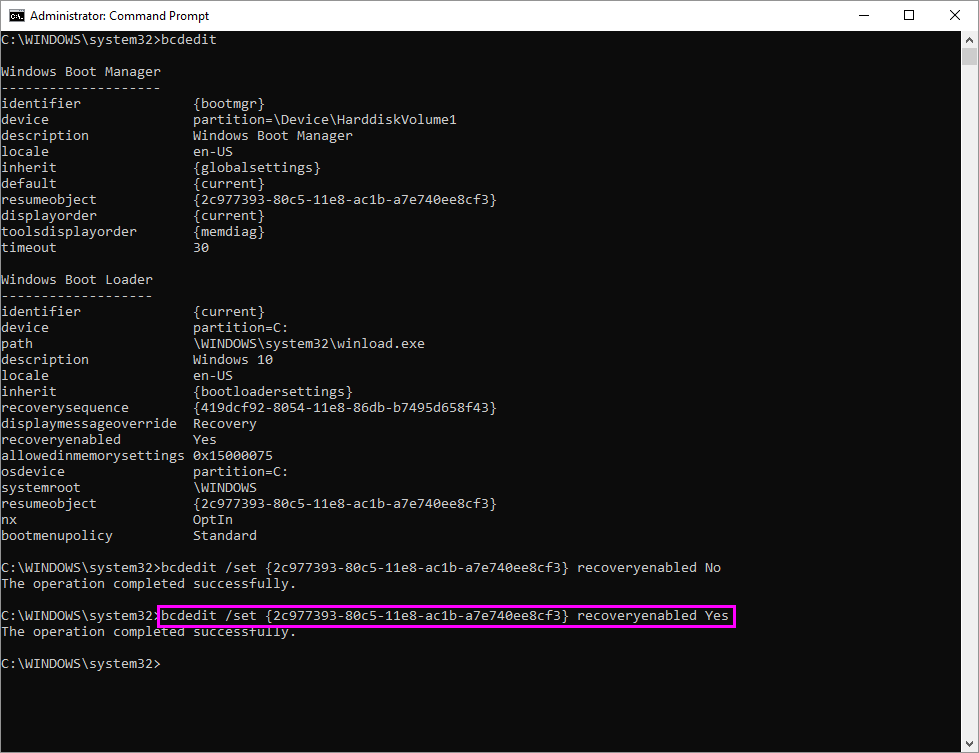
- Now, type the below given command to disable automatic repair and press hit “Enter.”
bcdedit /set {the long number you copied} recoveryenabled No

- After running the above command, you will see the message “The operation completed successfully.”
After completing it, you will be in control even if Windows 10 fails to boot. You may manually run chkdsk or bcdedit to repair boot related issues, instead of Windows doing everything automatically. Moreover, you may re enable the automatic repair feature of Windows 10 by typing the following command in the command prompt:
bcdedit /set {the long number you copied} recoveryenabled Yes

This is how you may disable or enable automatic repair in your Windows10 PC. Afterwards when you try to startup your system, it will proceed to diagnose the issue and try to repair common issues that may stop the operating system from loading correctly.
Now read: How to perform a clean boot on your Windows 10 PC


What other's say