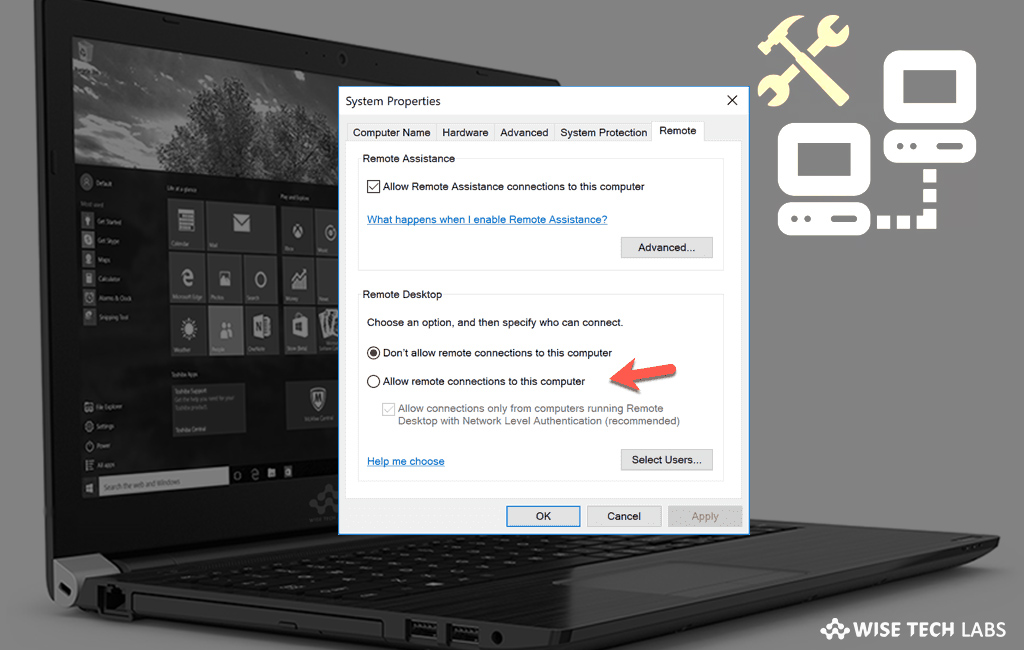
How to disable Remote Assistance in your Windows 10 PC

In Windows 10, Microsoft added a default Remote Assistance feature that allows you or someone whom you trust to access your system remotely. This is feature is really helpful when your family member or trusted tech want to access your system to diagnose a problem. Remote Assistance is enabled by default. In case, you are not happy with the default options, here we will provide you a short guide that will help you to disable it.
How to disable remote assistance from system settings?
Follow the below given steps to disable remote assistance from system settings:
- On your Windows PC, type “Control Panel” in the “Start Menu” and then click the top result to open “Control Panel.”
- Select “System and Security” from the list of settings.
- Now, click “System.”

- On the list of setting on the left side, select “Remote Settings” to open the “Remote Assistance settings” window.
- Uncheck the box next to “Allow Remote Assistance connections to this computer” and then click “OK.”

How to disable Remote Assistance from registry editor?
You may also disable Remote Assistance with a registry tweak by following the below given steps:
Before proceeding, make sure that you are signed in with administrative account.
- On your Windows 10 PC, press “Windows + Run” key, type “regedit” in the run window and click “Ok” to open registry editor.
- Now follow the below given path:
HKEY_LOCAL_MACHINE\SYSTEM\CurrentControlSet\Control\Remote Assistance
- On the right side pane, modify or create a new 32-Bit DWORD value “fAllowToGetHelp” and set its value to “0.”
- Note: If you are using 64-bit Windowsyou must have to create a 32-bit DWORD value.
- Finally, restart your Windows 10 PC to apply the changes.
This is how you may disable Remote Assistance on your Windows 10 PC. Similarly, you may also enable it whenever you want to provide a remote access to your system.
Now read: How to disable or enable external devices on your Windows 10 PC


What other's say