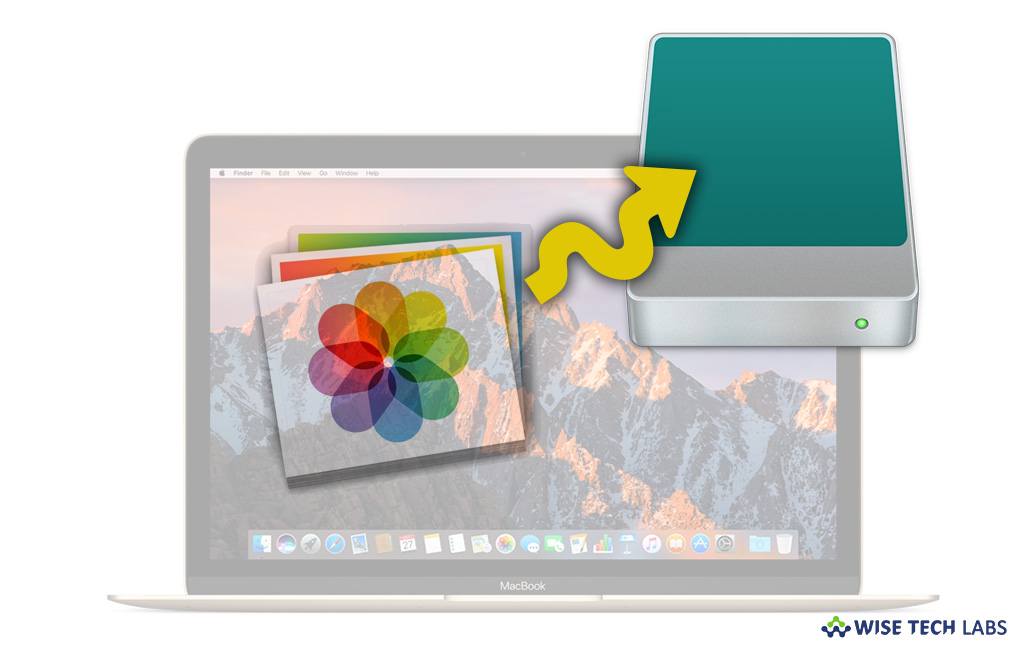
How to move Photos library to another drive to save space on Mac

Most of us are habitual to store iPhone or iPad’s photos on Mac for keeping our precious memories in organized order, but over time, the large amount of photos may slow down your Mac speed. To free up and speed up your Mac, you might need to transfer your Photos library from your Mac to another drive. Usually, photos and videos occupy a large storage, especially for the professional photographers, so transferring the photo library to an external drive can be the best way to save space on Mac and enhance its performance. Here, we will provide you some easy steps to transfer Photos library to another drive.
To move your Photos library to an external storage device
Before moving your Photo library to an external device, make sure you are moving photos to USB or Thunderbolt drive formatted as APFS or Mac OS Extended because storing photos to SD card or USB flash drives can cause sudden data loss. Follow the below given steps to move your photos library to an external storage.
- Quit “Photos” on your Mac.
- In the Finder, go to the external drive where you want to store your library.
- In another Finder window, locate your library. The default location is Users > [username] > Pictures and its named Photos Library.

- Now, drag your library to its new location on the external drive. If you see an error there, select your external drive’s icon in the Finder and then select File > Get Info.
- If the information under Sharing & Permissions isn’t visible, click arrow and then make sure the “Ignore ownership on this volume” checkbox is selected. If it’s not selected, click “lock icon” to unlock it, enter an administrator name and password, then select the checkbox.

- Once the move is finished, double-click Photos Library in its new location to open it.
- If you are using iCloud photo library, rename it as System photo library to avoid confusion.
To delete original library to save space
After moving Photo library, if you are able to access Photos library in its new location, delete it from internal storage to free up more space on your Mac. Follow the below given steps to do that:
- In a Finder window, go to Photos library and move it to the trash.
- Then select Finder > Empty Trash to delete the library and save hard disk space.

To open another Photos library
If you are using multiple libraries, you may easily open another Photos library by following the below given steps:
- Close “Photos.”
- Press and hold the Option key while opening Photos.
- Select the library that you want to open and then select “Choose Library.”

Now read: 7 Ways to Free Up Disk Space on Mac OS X


What other's say