How to securely remove unwanted sensitive data from your Mac with Files Shredder
What is Files Shredder and how it works?
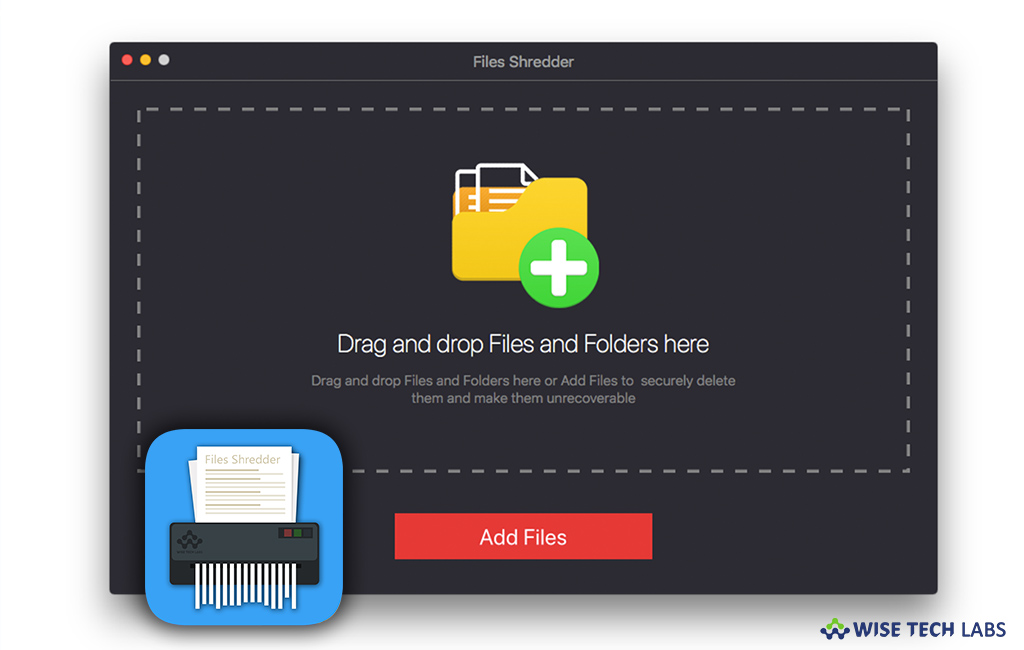
Do you have important documents on your Mac that you no longer need and must remain away from prying eyes? Files Shredder helps you permanently delete such files easily and effectively. Files Shredder permanently shreds files & folders from your Mac System to keep sensitive information secure and impossible for anyone to retrieve. This is a simple intuitive tool to permanently wipe unwanted sensitive data from your Mac. Bypass the Trash to permanently and securely delete files from your Mac, so that the shredded files cannot be recovered whatsoever. It has an easy to use user interface and novice users can easily use it. All you need to do is just launch “Files Shredder” app on your Mac and add Files and folders you want to delete securely to make them unrecoverable.
If you are thinking to erase your sensitive or confidential information without leaving any file or data behind, you may do it by clicking on delete button but it is not safe. To completely and securely remove your sensitive information, you may install Files Shredder app from Mac Store and keep your files away from prying eyes.
How to remove unwanted sensitive information using Files Shredder?
There are many file shredding applications that helps you to wipe unwanted sensitive information but Files Shredder is the most reliable and customizable app that you may use to permanently wipe your confidential data for good. With Files Shredder, you may simply remove the files by following the below given steps:
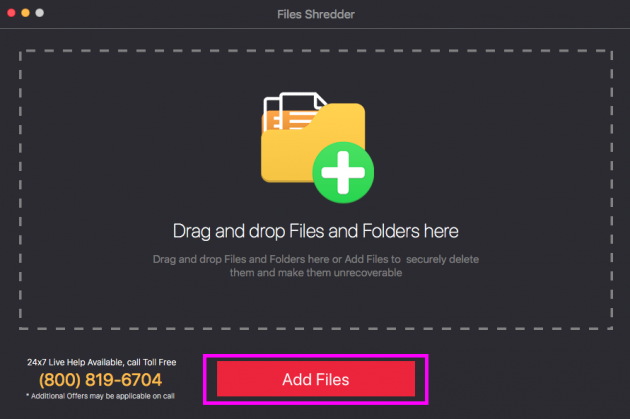
Step1: Add Files
You can add files by clicking the “Add Files” button on the home screen and navigating to desired location to select files and folders or dragging and dropping the files and folders that you wish to delete permanently on the home screen drag and drop area.
Step 2: Select the files to Delete them Permanently
Now, all Selected files and folders will be presented in a list for you to review and to be selected for secure deletion. From here, you may select or unselect files again before initiating shredding process.

Step 3: Secure Delete Algorithm
You can choose from three shredding algorithms to delete the selected files permanently, before you hit the “Shred Selected Items” button.

You may select any of these three shredding methods as per your need. If you want to wipe information more securely, you may select the third option “Secure random Write” but it may take more time to complete the file shredding process.
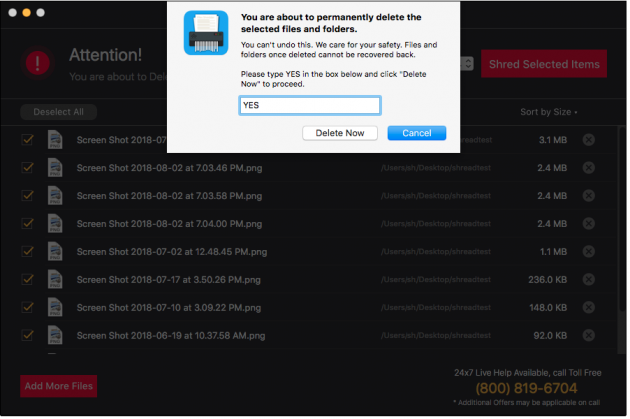
Step 4: Confirmation Dialog
We care for your safety. A confirmation dialog will be shown every time before the deletion process starts. You need to type “YES” in the given text box to proceed with secure deletion. Files once deleted cannot be recovered back by any means and thus double checking is important.
Protect your privacy and data security by securely deleting unneeded sensitive data from your Mac using “Files Shredder“. Keep your information secure and impossible for anyone to retrieve.
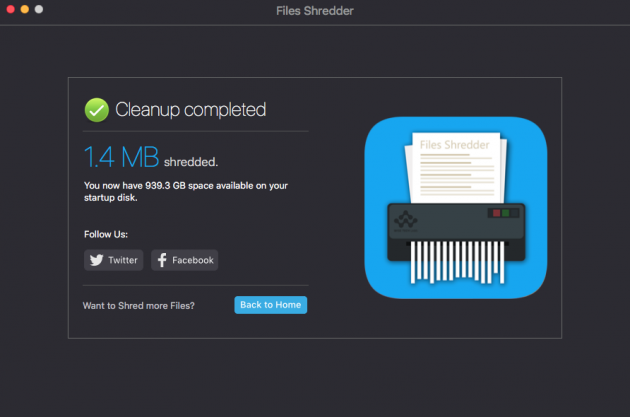
Once shredding is completed, you will see a “Cleanup Completed” screen which informs you about shredded and available space on your startup disk.
This is how you may securely remove unwanted confidential data from your Mac without leaving any residual information behind.
You may get a Files Shredder from here and securely remove your sensitive information from your Mac.


What other's say